
Bounty Bonbons are a simple yet indulgent treat inspired by the classic Bounty chocolate bar — a beloved coconut-filled candy coated in silky chocolate. These homemade coconut bonbons deliver the same luscious texture and flavor, but with just five ingredients and no baking required.
Perfect for anyone craving a quick dessert that feels luxurious, these little bites bring together sweetened shredded coconut, creamy condensed milk, and smooth melted chocolate. They’re soft, chewy, and rich — ideal for satisfying a sweet tooth or serving as part of a festive tray.
What makes this recipe so appealing is how effortlessly it comes together. There’s no need for an oven, no complicated steps, and no fancy equipment. Whether you’re prepping for Eid, hosting guests, or just looking for a family-friendly project, these bonbons are a delicious success every time.
Ingredients Overview
Shredded Coconut (Desiccated)
This is the heart of the bonbons. Finely shredded or desiccated coconut brings that signature chewy texture and nutty, tropical flavor. Choose unsweetened if you prefer to control the sweetness, or go for sweetened if you like a candy-bar level of indulgence. For best results, use fresh, soft shredded coconut rather than older, dry flakes.
Substitution Tip: For a slightly nuttier taste, try substituting ¼ of the coconut with almond meal or crushed cashews.
Sweetened Condensed Milk
This thick, sugary milk binds the coconut mixture and adds creamy richness. It’s the reason these bonbons hold their shape and taste so smooth and sweet. Avoid evaporated milk — it doesn’t have the same sweetness or thickness.
Dairy-Free Option: Use a plant-based condensed coconut milk for a fully vegan version.
Powdered Sugar
Powdered sugar helps firm up the coconut mixture and gives it a smoother texture. It also balances the natural oils in the coconut with a soft sweetness that doesn’t overwhelm.
Tip: Sift your powdered sugar before mixing to avoid any clumps.
Vanilla Extract
Just a splash of vanilla enhances the flavor of the coconut and makes the filling more aromatic. A pure vanilla extract works best, but a good-quality imitation vanilla can also be used in a pinch.
Alternative: Almond extract adds a lovely twist if you’re looking for something slightly different.
Dark or Milk Chocolate
This is your coating — the final layer that seals the bonbons with glossy, melt-in-your-mouth chocolate. Use high-quality bars or chips, and melt gently over a double boiler or in the microwave in 30-second intervals.
Flavor Tip: Dark chocolate gives a more intense contrast to the sweet filling, while milk chocolate offers a creamier, candy-bar vibe.
Step-by-Step Instructions
-
Combine the Filling
In a large mixing bowl, stir together shredded coconut, sweetened condensed milk, powdered sugar, and vanilla extract. The mixture should be thick and sticky, almost like a thick cookie dough. If it’s too wet, add a tablespoon or two more coconut. -
Shape the Bonbons
Using your hands or a small cookie scoop, shape the mixture into small balls or oval log shapes — about 1 to 1.5 inches in size. Place them on a baking sheet lined with parchment paper. Chill in the refrigerator for 20–30 minutes to firm up. -
Melt the Chocolate
While the bonbons are chilling, melt your chocolate in a heatproof bowl over simmering water (double boiler method) or in the microwave in short bursts. Stir frequently to avoid scorching. -
Dip and Coat
Using a fork or dipping tool, lower each chilled coconut bonbon into the melted chocolate. Let the excess drip off, then place back onto the parchment paper. If needed, reheat your chocolate to keep it smooth. -
Set and Chill Again
Once all bonbons are coated, refrigerate them again for 20–30 minutes or until the chocolate is completely set and hardened. -
Serve or Store
Serve directly from the fridge or let them sit at room temperature for 5 minutes before eating for a softer bite. Store in an airtight container in the refrigerator for up to 7 days.
Tips, Variations & Substitutions
-
Add a Crunch: Press a whole almond, hazelnut, or a roasted cashew into the center of each bonbon for a hidden crunch.
-
Flavor Variations: Try adding a drop of orange extract or coconut extract to switch up the flavor profile.
-
Colorful Finish: Drizzle with white chocolate or sprinkle with crushed freeze-dried raspberries for a festive look.
-
Dairy-Free Option: Use vegan sweetened condensed milk and dairy-free chocolate.
-
No-Sugar Alternative: Use sugar-free condensed milk and stevia-sweetened chocolate for a lower-carb version.
-
Festive Shapes: Use silicone molds to create heart, star, or dome-shaped bonbons.
Serving Ideas & Occasions
These bonbons are perfect for:
-
Eid or Ramadan trays — soft, sweet, and satisfying.
-
Holiday cookie boxes — they travel well and stay fresh.
-
Afternoon tea — serve with mint tea or cardamom coffee.
-
Gifting — wrap in small cellophane bags with ribbon.
-
Snack prep — keep a stash in the fridge for a sweet treat after meals.
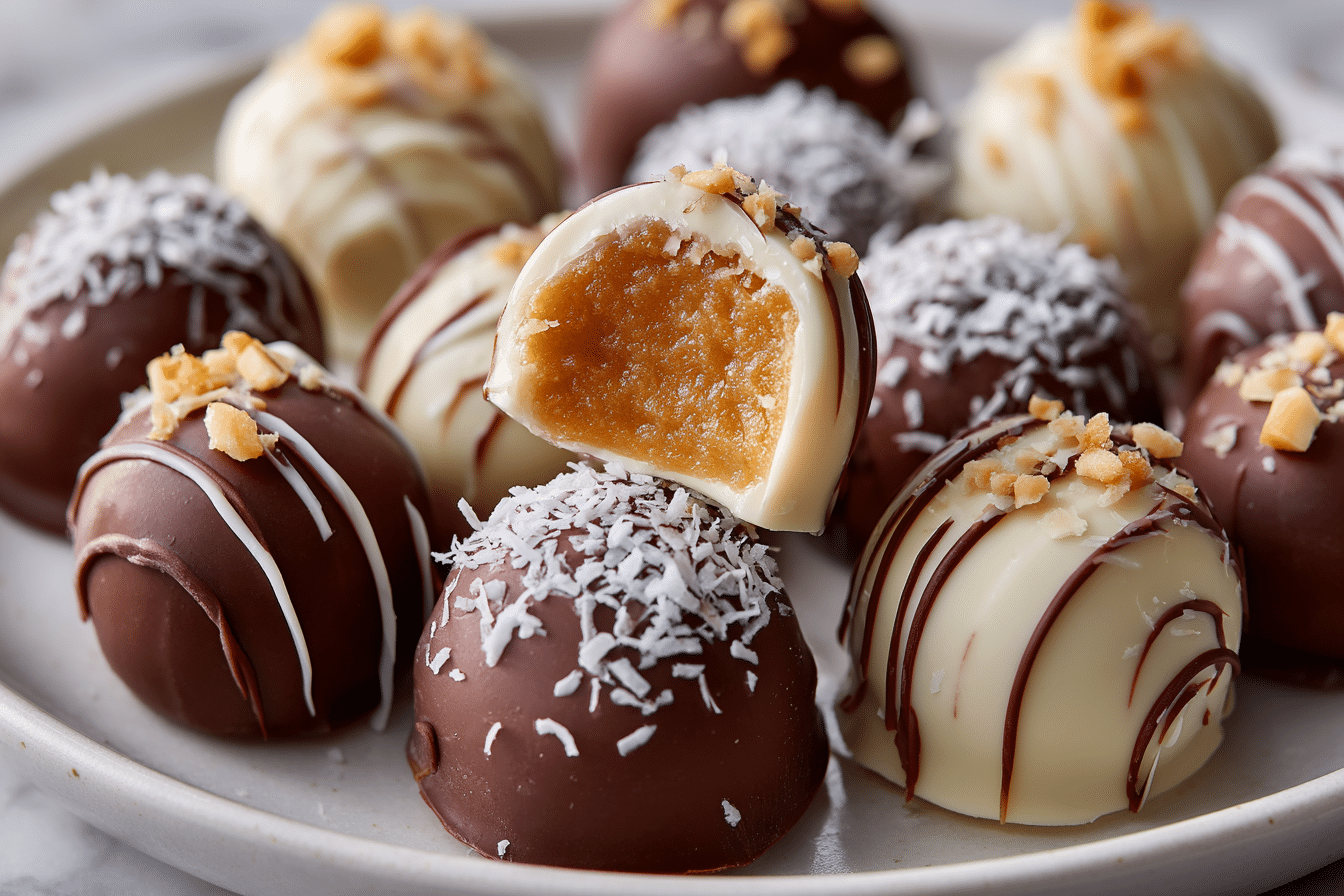
Their creamy center and crisp chocolate shell offer a beautiful texture contrast, making them crowd-pleasers for all ages.
Nutritional & Health Notes
While these Bounty Bonbons are undeniably rich, they do offer some wholesome elements. Coconut provides dietary fiber and healthy fats (especially medium-chain triglycerides), which can support satiety and energy.
Keep portions small — one or two bonbons are enough to satisfy a sweet craving without going overboard. To make them a bit lighter, opt for dark chocolate and unsweetened coconut. The recipe can also be tailored for dairy-free or refined sugar-free diets.
FAQs
Q1: Can I freeze Bounty Bonbons?
A1: Yes! Once the chocolate has fully set, store the bonbons in a freezer-safe container separated by parchment paper. They can be frozen for up to 3 months. Let them thaw in the refrigerator overnight or at room temperature for 15–20 minutes before serving.
Q2: Why are my bonbons too sticky to roll?
A2: This usually means the mixture has too much moisture. Try adding more shredded coconut or a tablespoon of powdered milk to firm it up. Chill the mixture before rolling, which also helps reduce stickiness.
Q3: Can I use sweetened coconut instead of unsweetened?
A3: Absolutely, but reduce or skip the powdered sugar to balance the sweetness. Sweetened coconut will also yield a softer texture and richer flavor.
Q4: How do I prevent the chocolate from cracking when I bite into it?
A4: Cracks can happen if the chocolate coating is too thick or if it’s refrigerated too long. Use a thinner chocolate layer and let bonbons sit for 5–10 minutes at room temperature before eating.
Q5: What’s the best chocolate for coating?
A5: High-quality couverture chocolate or baking chocolate works best because it melts smoothly and sets with a nice sheen. Avoid chocolate chips with stabilizers, unless melted with a bit of coconut oil.
Q6: Can kids help make this recipe?
A6: Definitely! Kids can help mix, shape the bonbons, and even dip them in chocolate (with supervision). It’s a fun, hands-on recipe perfect for family cooking sessions.
Q7: Are these gluten-free?
A7: Yes, this recipe is naturally gluten-free as long as all ingredients (especially the chocolate) are labeled gluten-free. Always double-check packaging if cooking for someone with celiac disease.
PrintSweet Snacks Recipes – Simple Coconut Bonbons Dipped in Chocolate

These 5-ingredient Bounty Bonbons are no-bake, coconut-filled chocolate treats with a soft center and rich coating. A quick dessert perfect for holidays or everyday cravings.
- Prep Time: 20 minutes
- Cook Time: 0 minutes
- Total Time: 50 minutes (including chilling)
- Yield: 24 bonbons 1x
Ingredients
-
2 cups shredded coconut (unsweetened or sweetened)
-
1 can (14 oz) sweetened condensed milk
-
½ cup powdered sugar
-
1 tsp vanilla extract
-
10 oz dark or milk chocolate, chopped
Instructions
-
In a bowl, mix shredded coconut, sweetened condensed milk, powdered sugar, and vanilla until combined.
-
Shape into small balls or logs and place on parchment-lined tray.
-
Chill for 30 minutes.
-
Melt the chocolate until smooth.
-
Dip each bonbon into the chocolate and return to tray.
-
Chill again until chocolate is set, about 30 minutes.
Notes
Store in the refrigerator for up to a week. Freeze for longer storage. Add chopped nuts inside or drizzle with white chocolate for a festive twist.