
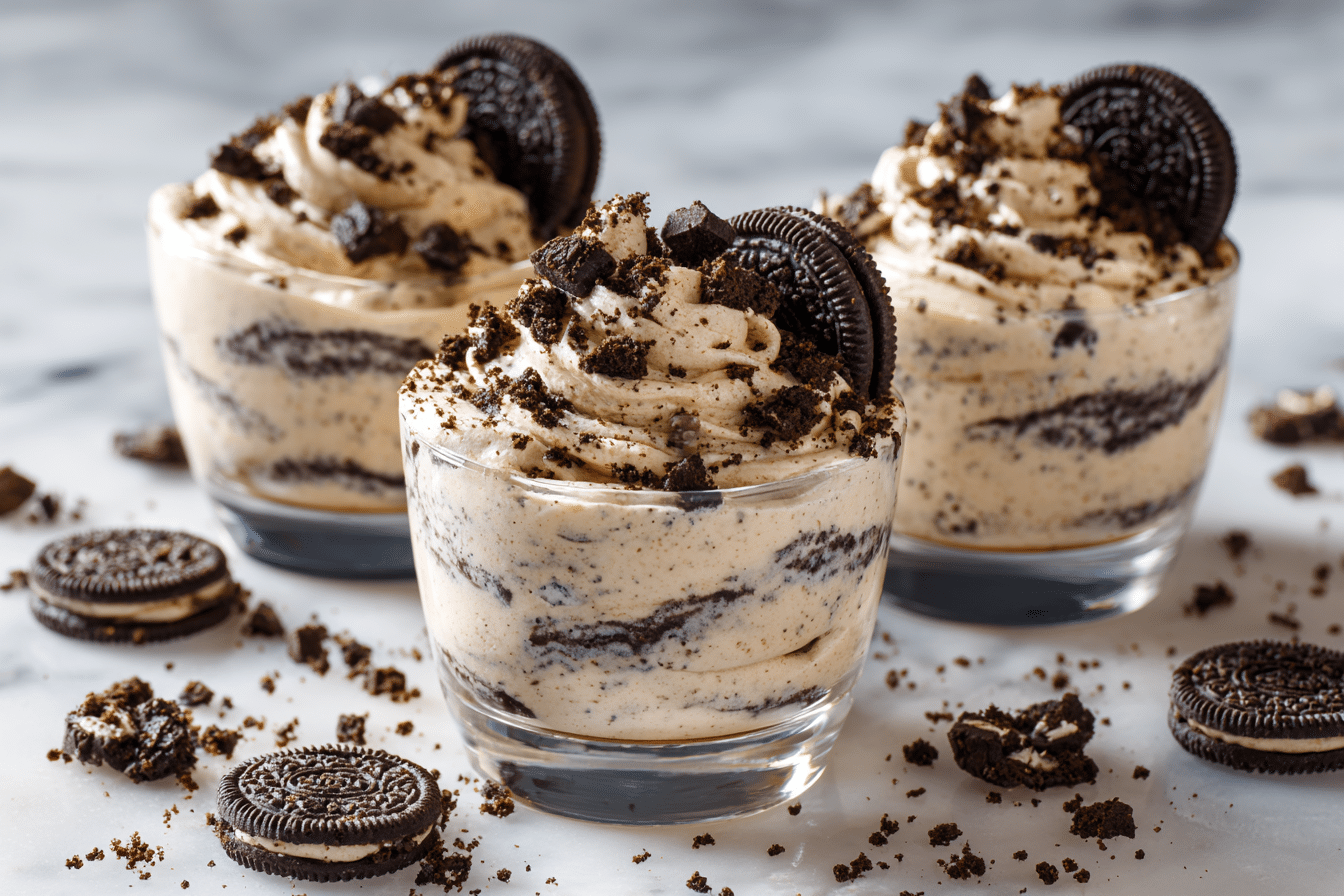
Creamy, crunchy, and absolutely irresistible, Oreo Mousse Cups are a no-bake dessert that comes together in minutes — and vanishes even faster. Whether you’re hosting a party or just craving something sweet and simple, this layered treat offers the best of both worlds: the silky lightness of mousse and the iconic crunch of crushed Oreos.
With a rich whipped base and bursts of chocolate cookie throughout, these individual cups feel indulgent yet are surprisingly easy to make. There’s no gelatin, eggs, or complicated technique required — just a few pantry ingredients and a whisk.
This recipe is perfect for those moments when you want a show-stopping dessert with minimal effort. Each spoonful is a balance of airy cream, crushed cookies, and childhood nostalgia.
Ingredients Overview
Oreos
-
The star of the show – Classic Oreo cookies provide that signature chocolate crunch and vanilla cream flavor. You’ll need some crushed for the base and some chopped for mixing into the mousse.
-
Alternatives: Any chocolate sandwich cookie works — or use gluten-free versions if needed.
Heavy Whipping Cream
-
For the mousse base – Whipped to soft peaks, it creates the airy, silky texture that defines a mousse-like dessert.
-
Tip: Use full-fat whipping cream (at least 35%) for the best structure.
Cream Cheese
-
Adds tang and richness – Cream cheese gives body to the mousse and balances the sweetness of the cookies.
-
Make sure it’s softened for smooth blending.
Powdered Sugar
-
Gently sweetens – Unlike granulated sugar, it dissolves easily into the cream cheese for a smooth finish.
Vanilla Extract
-
A warm background note – Enhances the cookies and cream flavor without overpowering it.
Optional Toppings
-
Whipped cream
-
Mini Oreos
-
Chocolate shavings
-
Crushed cookies
These additions turn simple mousse cups into an eye-catching, party-ready dessert.
Step-by-Step Instructions
1. Crush the Oreos
Set aside 8–10 Oreos and crush them finely using a food processor or by placing them in a zip-top bag and smashing with a rolling pin. These form the base layer of the mousse cups.
Optional: mix with 1–2 tablespoons melted butter if you want a firmer crust-like base.
2. Whip the Cream
In a cold mixing bowl, whip 1 cup heavy cream to soft peaks using a hand mixer or stand mixer. Be careful not to overwhip. Set aside.
3. Make the Cream Cheese Mixture
In another bowl, beat:
-
8 oz softened cream cheese
-
½ cup powdered sugar
-
1 teaspoon vanilla extract
Mix until smooth and creamy.
4. Fold in the Whipped Cream
Gently fold the whipped cream into the cream cheese mixture in 2–3 batches. Use a spatula to keep the texture light and airy.
5. Add Oreo Chunks
Roughly chop 4–6 Oreos and fold into the mousse. These add texture and Oreo flavor throughout.
6. Assemble the Cups
In small serving glasses or jars, layer:
-
A spoonful of crushed Oreos on the bottom
-
A generous layer of mousse
-
Repeat if desired for multiple layers
Top with whipped cream and an Oreo or sprinkle of crushed cookies for presentation.
7. Chill
Refrigerate for at least 1 hour to allow the flavors to meld and the mousse to set. You can make these up to 24 hours in advance.
Tips, Variations & Substitutions
-
Make it lighter: Use Greek yogurt in place of cream cheese for a tangier, higher-protein option.
-
Flavor twist: Add a tablespoon of cocoa powder to the mousse base for a chocolatey depth.
-
Gluten-free option: Use gluten-free chocolate sandwich cookies.
-
Mini cups: Perfect for party trays or dessert bars — use shot glasses or small plastic dessert cups.
-
Freezer-friendly: Freeze for 30 minutes for a semifreddo-style frozen treat.
Serving Ideas & Occasions
These Oreo mousse cups are perfect for:
-
Birthday parties – Kid-friendly and easy to serve.
-
Date nights – Rich and romantic when served in elegant glasses.
-
Potlucks or BBQs – No melting mess and easy to transport.
-
Holiday desserts – Especially great for a no-bake summer option.
Serve them with espresso, milk, or a scoop of vanilla ice cream for extra indulgence.
Nutritional & Health Notes
These cups are rich and creamy, so portion size is key. Each cup (depending on size) ranges from 250–350 calories and contains a mix of fats and carbs.
-
To reduce sugar: Use sugar-free sandwich cookies and reduce powdered sugar.
-
For more protein: Swap part of the cream cheese for Greek yogurt.
-
For a lighter version: Use light whipped topping and reduced-fat cream cheese.
While not “health food,” these mousse cups can be enjoyed mindfully as part of a balanced lifestyle.
FAQs
Q1: Can I make Oreo mousse cups ahead of time?
A1: Yes! You can prepare and assemble them up to 24 hours in advance. Store covered in the fridge and add final toppings just before serving.
Q2: Can I make these without cream cheese?
A2: You can substitute with Greek yogurt or mascarpone for a different flavor and texture. The mousse will be slightly looser.
Q3: How do I prevent the mousse from being too runny?
A3: Make sure the whipped cream is whipped to soft peaks, and don’t overmix when folding into the cream cheese mixture. Chill at least 1 hour before serving.
Q4: Can I freeze Oreo mousse cups?
A4: Yes! They freeze well and taste like a frozen Oreo cheesecake. Freeze in individual containers and thaw for 10–15 minutes before eating.
Q5: What if I don’t have a mixer?
A5: You can whisk the cream and cream cheese mixture by hand, but it takes more effort. Make sure both are cold and softened for easier mixing.
Q6: Are there lower-fat alternatives?
A6: Use light cream cheese and light whipped topping or coconut whipped cream. The texture may change slightly, but the flavor is still delicious.
Q7: Can I use flavored Oreos?
A7: Definitely! Mint, peanut butter, or birthday cake Oreos all work — just adjust toppings to match the flavor theme.
PrintQuick Oreo Mousse Cups – Easy No-Bake Treat

These easy no-bake Oreo mousse cups combine whipped cream, cream cheese, and crushed Oreos into a creamy, dreamy layered dessert — perfect for parties or a quick indulgence.
- Prep Time: 15 minutes
- Chill Time: 1 hour
- Total Time: 1 hour 15 minutes
- Yield: 4–6 servings 1x
Ingredients
-
12–14 Oreo cookies (crushed and chopped)
-
1 cup heavy whipping cream
-
8 oz cream cheese, softened
-
½ cup powdered sugar
-
1 tsp vanilla extract
Instructions
-
Crush 8–10 Oreos for the base. Optionally mix with 1–2 tbsp melted butter.
-
Whip the cream to soft peaks and set aside.
-
Beat cream cheese, powdered sugar, and vanilla until smooth.
-
Fold in whipped cream gently.
-
Stir in chopped Oreos.
-
Layer crushed cookies and mousse in cups.
-
Chill for at least 1 hour. Garnish and serve.
Notes
Swap in Greek yogurt for a lighter version. Use gluten-free cookies as needed. Best served chilled.