
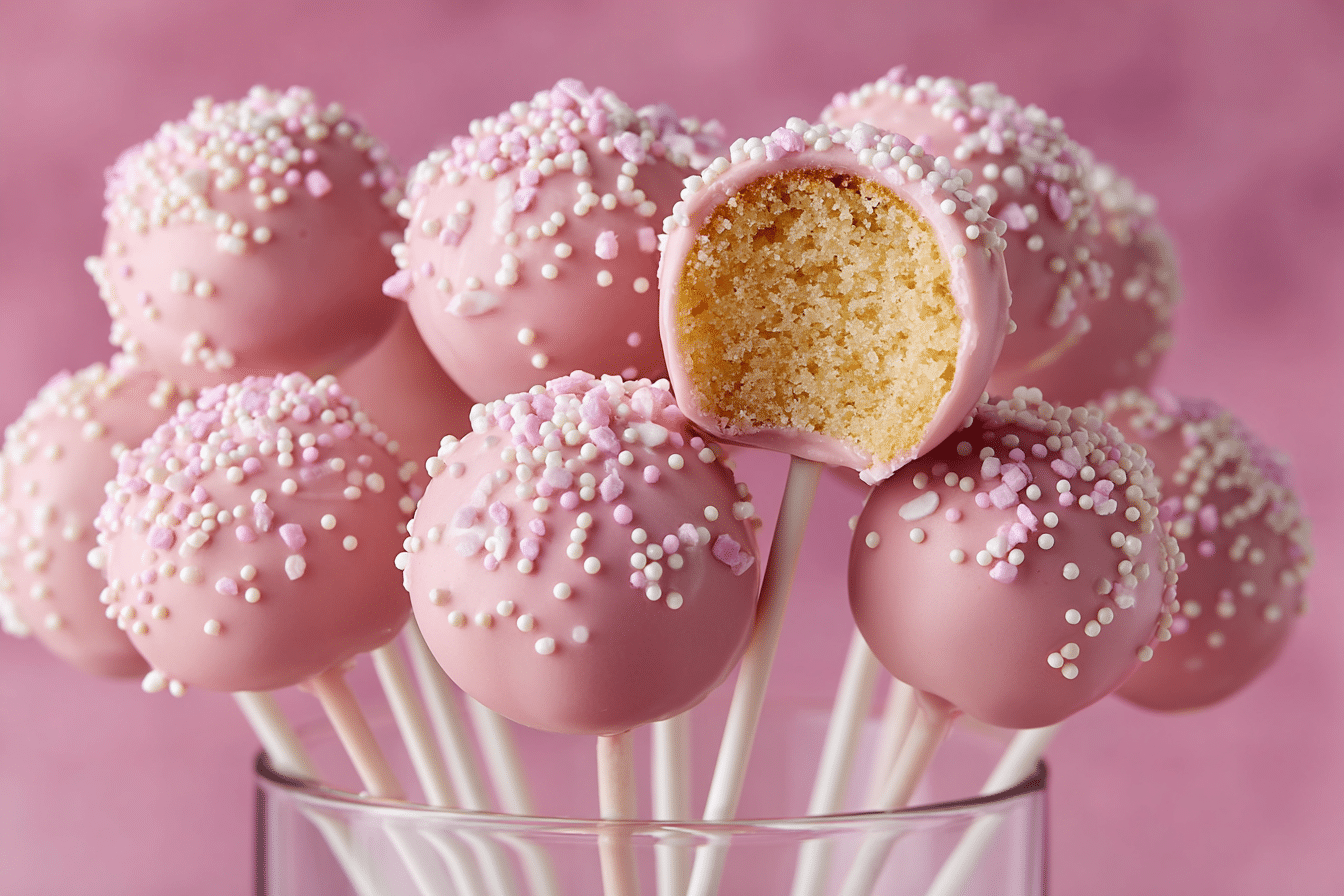
Starbucks Birthday Cake Pops have become a cult favorite — a sweet pink bite of nostalgia on a stick. These adorable treats combine soft vanilla cake and creamy frosting, all dipped in pastel-pink candy coating and finished with rainbow sprinkles.
Whether you’re recreating them for a party, gifting, or just want to skip the coffee shop prices, this Starbucks copycat birthday cake pop recipe delivers that same moist, dense interior with a satisfying candy shell.
The key? Using a tender, buttery cake base and just enough frosting to bind the mixture into that signature truffle-like texture. Let’s break down how to make the best version at home — bakery-worthy, eye-catching, and delicious.
Ingredients Overview
To truly capture the Starbucks style, each component needs to be thoughtfully selected. Here’s what you’ll need and why it matters:
-
Vanilla Cake: A classic yellow or white cake base gives the right balance of sweetness and structure. A boxed cake mix works well, but homemade delivers the best texture. The goal is a soft crumb that can bind easily.
-
Frosting: Creamy vanilla buttercream is traditional. It moistens the cake crumbs and forms that doughy, truffle-like texture. Store-bought can work in a pinch, but homemade lets you control sweetness and smoothness.
-
Candy Melts or White Chocolate Coating: Pink candy melts give that iconic look, plus they’re easy to work with. White chocolate + food coloring can be used, but candy melts tend to coat more smoothly.
-
Sprinkles: Rainbow nonpareils or confetti sprinkles add a pop of fun and mimic the Starbucks finish.
-
Lollipop Sticks: Essential for the cake pop shape and easy serving. Choose food-safe sticks that are sturdy and about 6 inches long.
Ingredient Tips & Substitutions
-
Homemade Cake Option: Use a simple vanilla butter cake recipe for a richer flavor. Let the cake cool completely before crumbling.
-
Dairy-Free: Use plant-based butter and almond milk in your cake and frosting. Opt for dairy-free candy melts (available online or in specialty stores).
-
Color Variations: Swap pink melts for white, blue, or any festive hue to suit your occasion.
-
Gluten-Free: Use a 1:1 gluten-free flour blend in your cake recipe, or a GF cake mix that still yields a moist crumb.
Step-by-Step Instructions
Here’s how to make these iconic treats from start to finish, including texture and flavor tips along the way.
-
Bake the Cake
Prepare your vanilla cake according to the recipe or box directions. Allow it to cool completely — warm cake will melt the frosting and make the pops greasy. -
Crumble the Cake
Break the cooled cake into fine crumbs using clean hands or a food processor. You’re aiming for a fluffy, even texture — no large chunks. -
Mix with Frosting
Add ⅓ to ½ cup of vanilla frosting and mix with your hands until the mixture holds together when pressed. It should feel like playdough — soft but not sticky. -
Form Cake Balls
Roll into 1.25-inch balls using a small cookie scoop or tablespoon. You should get about 20–24 cake pops. Place them on a parchment-lined tray. -
Chill
Refrigerate for 2 hours or freeze for 30 minutes. The firmer the balls, the easier they’ll be to dip. -
Melt the Coating
In a microwave-safe bowl, melt candy melts in 30-second intervals, stirring in between. If needed, add a small amount of coconut oil or shortening to thin it. -
Insert Sticks
Dip the tip of each lollipop stick into the melted coating, then insert halfway into each cake ball. This helps secure the stick. -
Dip & Decorate
Dip the cake pop straight into the melted coating, then gently tap off excess. Immediately top with sprinkles before the coating sets. -
Let Set
Stick the dipped cake pops into a styrofoam block or cake pop stand to dry. Let them set fully at room temperature or chill for 10–15 minutes.
Texture Tips
-
Don’t overdo the frosting — too much will make the pops soggy.
-
If the coating cracks after setting, the cake ball may have been too cold. Let them sit at room temp for 5 minutes before dipping.
-
Use a deep, narrow bowl for dipping — this keeps the coating even and minimizes waste.
Tips, Variations & Substitutions
-
Flavor Swaps: Try strawberry cake with strawberry frosting, or lemon cake with white chocolate coating.
-
Color Themes: Use themed sprinkles and colored melts for baby showers, birthdays, or holidays.
-
Chocolate Version: Make a rich cocoa cake pop using chocolate cake and chocolate frosting, dipped in dark or milk chocolate coating.
-
Add-ins: For texture, fold in crushed cookies or freeze-dried strawberries to the cake mixture.
-
Mini Pops: Make half-sized pops for a bite-sized party platter option.
Serving Ideas & Occasions
-
Birthday Parties: A perfect treat for kids and adults alike — colorful, handheld, and fun.
-
Baby Showers & Weddings: Customize colors and display them upright in a decorated foam base for an elegant dessert table centerpiece.
-
School Events or Bake Sales: Individually wrap them in cellophane for easy packaging and gifting.
-
Holiday Treats: Use peppermint cake and white coating for Christmas, or red velvet and hearts for Valentine’s Day.
Pair with coffee, milk, or lemonade depending on the flavor and mood. They’re fun to bite into, satisfying to make, and guaranteed to disappear quickly!
Nutritional & Health Notes
Each cake pop is a small indulgence, but portion-controlled and satisfying.
-
Calories: Around 180–220 depending on size and coating.
-
Fat & Sugar: Most of the richness comes from frosting and coating, so using less frosting or a light frosting recipe can reduce calories.
-
Make Ahead: These freeze well — keep in an airtight container for up to 2 months.
To make them more health-conscious:
-
Use reduced-sugar cake and frosting.
-
Dip in dark chocolate for an antioxidant boost.
-
Add flaxseed to the cake for a fiber boost (up to 1 tbsp per batch).
FAQs
Q1: Can I make cake pops without candy melts?
A: Yes! You can use white chocolate chips with a bit of coconut oil, then color with gel-based food coloring. Just avoid water-based dyes, which can cause chocolate to seize.
Q2: How far in advance can I make them?
A: You can make and decorate cake pops up to 3 days in advance. Store in an airtight container at room temp or refrigerated.
Q3: Why are my cake pops falling off the stick?
A: This usually happens if the mixture is too soft or the stick wasn’t anchored well. Chill the pops, and be sure to dip the stick in melted coating before inserting.
Q4: Can I use store-bought cake and frosting?
A: Absolutely. While homemade gives the best texture, a boxed vanilla cake and canned frosting are great time-savers and still delicious.
Q5: What’s the best way to store cake pops?
A: Keep them in an airtight container. Refrigeration extends freshness, but bring them to room temperature before serving for the best texture.
Q6: How do I get a smooth coating?
A: Thin the candy melts with a teaspoon of coconut oil or shortening, and make sure the coating isn’t too thick. Dip quickly and tap off excess while spinning gently.
Q7: Can I make these without a cake pop stand?
A: Yes! Use a foam block, an upside-down colander, or even a cardboard box with holes poked into it for holding the pops upright while they set.
Homemade Starbucks Birthday Cake Pops Everyone Loves

These Starbucks copycat birthday cake pops are moist vanilla cake mixed with creamy frosting, dipped in pink candy coating, and topped with colorful sprinkles — fun, festive, and delicious.
- Prep Time: 30 minutes
- Cook Time: 30 minutes (for cake)
- Total Time: 3 hours
- Yield: 20–24 cake pops 1x
Ingredients
-
1 baked 9×13 vanilla cake (homemade or boxed), cooled
-
⅓ to ½ cup vanilla frosting
-
12 oz pink candy melts
-
1 tsp coconut oil or shortening (optional, for thinning)
-
Rainbow sprinkles
-
20–24 lollipop sticks
Instructions
-
Crumble cooled cake into fine crumbs.
-
Add frosting gradually and mix until it forms a dough-like texture.
-
Roll into 1.25-inch balls and chill for 2 hours.
-
Melt candy melts with coconut oil until smooth.
-
Dip sticks in melted coating and insert into chilled cake balls.
-
Dip each pop fully in coating, tap off excess, and add sprinkles.
-
Stand upright to set at room temp or chill briefly.
Notes
-
Chill cake balls before dipping to avoid slipping.
-
Use themed colors and sprinkles for any occasion.
-
Freeze uncoated cake balls for longer storage.