
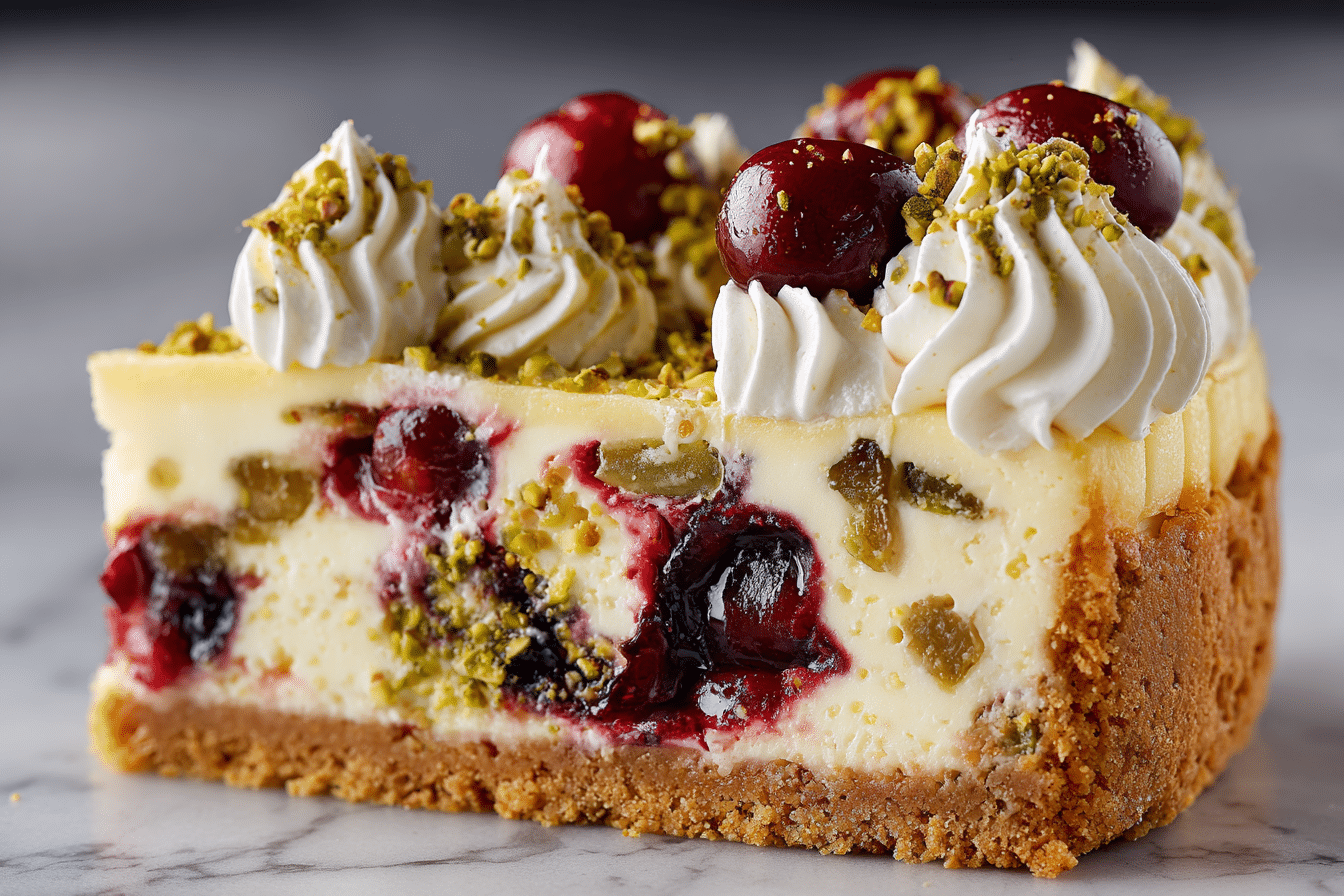
Cherry Pistachio Cheesecake is a creamy, nutty, and fruity masterpiece that captures the heart of every dessert lover. The luxurious combination of silky cream cheese, crunchy pistachios, and vibrant cherries creates a beautifully layered dessert that feels both nostalgic and indulgent.
Whether you’re serving this at a special gathering or enjoying a quiet moment of sweetness, each bite delivers a delightful balance of textures and flavors. The tang of the cream cheese blends harmoniously with the mellow crunch of roasted pistachios, while the cherry topping adds a juicy burst of color and flavor. This dessert stands out not just for its taste, but for its stunning presentation—a showstopper with substance.
Perfect for holidays, dinner parties, or simply when you want to impress without overcomplicating things, this Cherry Pistachio Cheesecake is comfort food at its finest. Let’s break down what makes it so special and how you can easily recreate this dreamy dessert at home.
Ingredients Overview
Each component in Cherry Pistachio Cheesecake plays an essential role, both in flavor and structure. Understanding what each ingredient does helps you appreciate the recipe and adapt it to your preferences if needed.
Graham Cracker Crust: The base layer brings a toasty, buttery crunch that contrasts the creamy filling. Graham crackers are classic, but digestive biscuits or vanilla wafers also work well. Mixing in melted butter helps bind the crumbs together and adds richness.
Cream Cheese: This is the heart of the cheesecake. Softened full-fat cream cheese ensures a smooth and rich filling. Avoid reduced-fat versions, as they can compromise texture and taste. Room temperature cream cheese blends better and prevents lumps.
Granulated Sugar: Provides sweetness and helps smooth out the cream cheese. You can substitute with superfine sugar for faster blending, but avoid brown sugar—it alters the color and flavor too much for this delicate dessert.
Sour Cream: Adds subtle tang and a lighter texture. It’s the secret behind that luscious, slightly fluffy mouthfeel. Greek yogurt can be used in a pinch, though the flavor will shift slightly.
Eggs: These help set the cheesecake as it bakes. Use large eggs and add them one at a time, mixing gently to avoid incorporating too much air, which can cause cracks.
Vanilla Extract: Adds depth and rounds out the flavor. Almond extract is a nice alternative if you want to lean into the nuttiness of the pistachios.
Shelled Pistachios: Roasted, unsalted pistachios are best. Chop them coarsely for texture and stir them into the batter for nutty bursts in every bite. A light toasting before use enhances their aroma and flavor.
Cherry Topping: A glossy cherry compote or pie filling crowns the cheesecake with bright flavor and stunning visual appeal. You can make it from scratch using fresh or frozen cherries, sugar, and cornstarch—or use high-quality canned cherry pie filling for convenience.
Cornstarch (if making cherry topping): Thickens the cherry topping without affecting flavor. It ensures the topping sits beautifully on top without dripping off.
Lemon Juice (optional): A squeeze of lemon in the cherry topping brightens the flavor and balances the sweetness.
Step-by-Step Instructions
Step 1: Prepare the Crust
Preheat your oven to 325°F (163°C). In a bowl, mix 1 ½ cups graham cracker crumbs with ¼ cup granulated sugar and 6 tablespoons melted butter. Stir until the mixture resembles wet sand.
Press the crumb mixture into the bottom of a 9-inch springform pan. Use a flat-bottomed glass to press it evenly and firmly. Bake for 10 minutes, then set aside to cool.
Step 2: Make the Cheesecake Filling
In a large bowl, beat 24 oz (three 8-oz packages) of softened cream cheese until smooth. Gradually add 1 cup granulated sugar and continue to mix until creamy and well-blended.
Add 1 cup sour cream and 1 teaspoon vanilla extract. Mix on low speed until just combined.
Crack in 3 large eggs, one at a time, mixing gently after each addition. Scrape down the sides of the bowl between additions.
Fold in ½ cup chopped roasted pistachios using a spatula, distributing them evenly without overmixing.
Step 3: Assemble and Bake
Pour the filling into the cooled crust. Smooth the top with a spatula.
Bake the cheesecake at 325°F for 50–60 minutes. The edges should be set, but the center will have a slight jiggle.
Turn off the oven and crack the door. Let the cheesecake cool in the oven for 1 hour to prevent sudden temperature changes that can cause cracking.
Step 4: Chill and Top
Refrigerate the cheesecake for at least 4 hours, preferably overnight. This step is key for the texture to set fully.
Before serving, top with about 1 ½ cups cherry pie filling or homemade cherry compote. Sprinkle with an additional tablespoon of chopped pistachios for color and crunch.
Tips, Variations & Substitutions
Practical Tips:
-
Always use room temperature ingredients for a smooth batter.
-
Don’t overbeat once the eggs are added; too much air can cause cracks.
-
Use a water bath for extra insurance against cracks if desired.
Flavor Variations:
-
Almond Touch: Add ¼ teaspoon almond extract to the filling.
-
Chocolate Twist: Swirl in ¼ cup melted white chocolate before baking.
-
Citrus Zing: Add a teaspoon of lemon zest to the batter for brightness.
Dietary Swaps:
-
For gluten-free: Use gluten-free graham crackers or almond flour crust.
-
For lower sugar: Reduce sugar by ¼ cup and use unsweetened cherries in the topping.
Topping Ideas:
-
Substitute cherries with raspberries or blueberries.
-
Add a drizzle of dark chocolate ganache for contrast.
Serving Ideas & Occasions
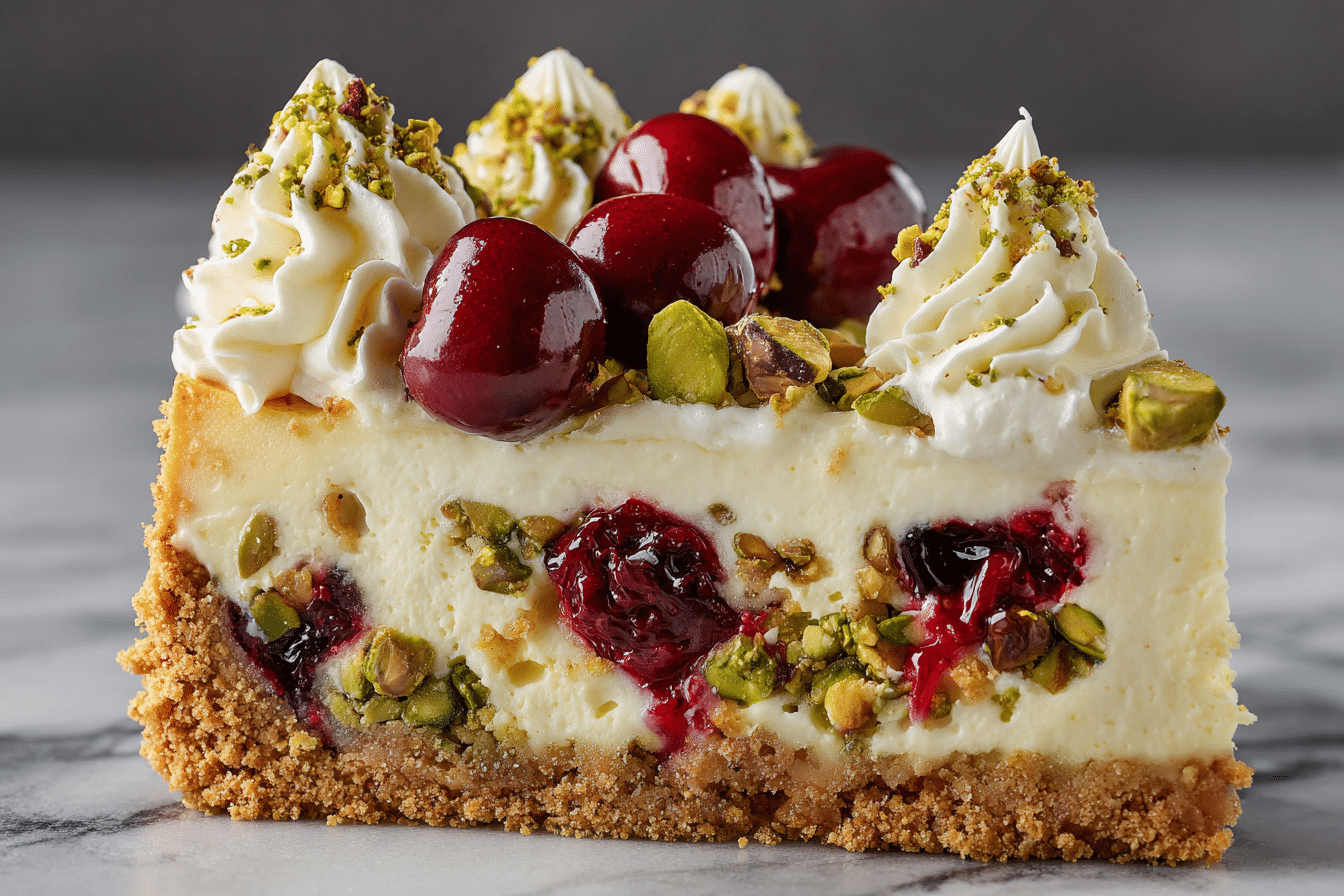
Cherry Pistachio Cheesecake is a versatile dessert fit for both casual and elegant occasions. Its vibrant red topping and green nut accents make it perfect for Christmas and Valentine’s Day, while its flavor profile is light enough for spring and summer gatherings.
Serve slices with a dollop of whipped cream or a scoop of vanilla ice cream. For drinks, consider a dessert wine like Moscato, or a strong espresso to cut through the richness.
It also makes a stunning centerpiece for a bridal shower or baby shower dessert table. Because it holds well in the fridge, it’s a great make-ahead option for dinner parties and holidays.
Nutritional & Health Notes
While Cherry Pistachio Cheesecake is undeniably indulgent, it also offers some nutritional upsides in moderation.
Pistachios bring protein, fiber, and healthy fats to the dessert, along with their signature flavor and crunch. The cherries offer natural antioxidants and vitamin C, especially if you opt for a homemade topping using real fruit.
Using full-fat dairy provides richness and satisfying flavor, but you can use lighter versions of sour cream or swap in Greek yogurt to reduce the overall fat content slightly. Keep in mind that these changes will alter the texture somewhat.
Portion control is key—a small slice is enough to satisfy your sweet tooth while keeping things balanced.
FAQs
Can I make this cheesecake ahead of time?
Yes, this cheesecake is perfect for making ahead. In fact, it needs at least 4 hours to chill, and it tastes even better the next day after the flavors meld and the texture firms up. You can prepare it 1–2 days in advance and store it in the fridge until ready to serve.
How do I prevent cracks on the surface?
Cracks are usually caused by overmixing, sudden temperature changes, or overbaking. To avoid this, mix the batter gently after adding eggs, bake until the center jiggles slightly, and cool the cheesecake gradually in the oven with the door cracked. A water bath can also help regulate the temperature.
Can I freeze Cherry Pistachio Cheesecake?
Yes. Wrap the fully chilled, undecorated cheesecake tightly in plastic wrap and then foil. Freeze for up to 2 months. Thaw overnight in the fridge and top with cherries and pistachios just before serving.
What if I don’t have a springform pan?
A springform pan is ideal, but you can use a deep 9-inch round cake pan lined with parchment on the bottom and sides. Allow it to cool completely before inverting onto a plate and flipping again onto a serving dish.
Is there a nut-free version?
If you’re avoiding nuts, simply omit the pistachios. You can stir in mini white chocolate chips or swirl in a berry puree instead to maintain visual and textural interest.
Can I use frozen cherries for the topping?
Absolutely. Cook frozen cherries with a bit of sugar and cornstarch until thick and glossy. Let it cool before spreading over the cheesecake. This gives you control over sweetness and texture.
How long will leftovers last?
Stored in an airtight container in the refrigerator, leftovers will keep for up to 5 days. The crust may soften slightly over time, but the flavor remains wonderful.
Heavenly Cherry Pistachio Cheesecake for Special Occasions
A rich and creamy Cherry Pistachio Cheesecake with a buttery graham cracker crust, nutty pistachios, and a glossy cherry topping. Perfect for special occasions or indulgent nights in.
- Prep Time: 20 minutes
- Cook Time: 60 minutes
- Total Time: 6 hours (including chilling)
- Yield: 12 slices 1x
Ingredients
1½ cups graham cracker crumbs
¼ cup granulated sugar
6 tbsp unsalted butter, melted
24 oz cream cheese, softened
1 cup granulated sugar
1 cup sour cream
1 tsp vanilla extract
3 large eggs
½ cup chopped roasted pistachios
1½ cups cherry pie filling or homemade cherry compote
1 tbsp chopped pistachios (for garnish)
Instructions
-
Preheat oven to 325°F (163°C).
-
Mix graham cracker crumbs, sugar, and melted butter. Press into 9-inch springform pan. Bake 10 minutes. Cool.
-
Beat cream cheese until smooth. Add sugar, then sour cream and vanilla.
-
Add eggs one at a time, mixing gently. Fold in chopped pistachios.
-
Pour filling into crust. Smooth top.
-
Bake 50–60 minutes until edges are set and center jiggles slightly.
-
Turn off oven, crack door, and cool for 1 hour.
-
Chill in refrigerator at least 4 hours or overnight.
-
Top with cherry pie filling and garnish with chopped pistachios before serving.
Notes
Use room temperature ingredients for best texture. Optional water bath can help prevent cracks.