
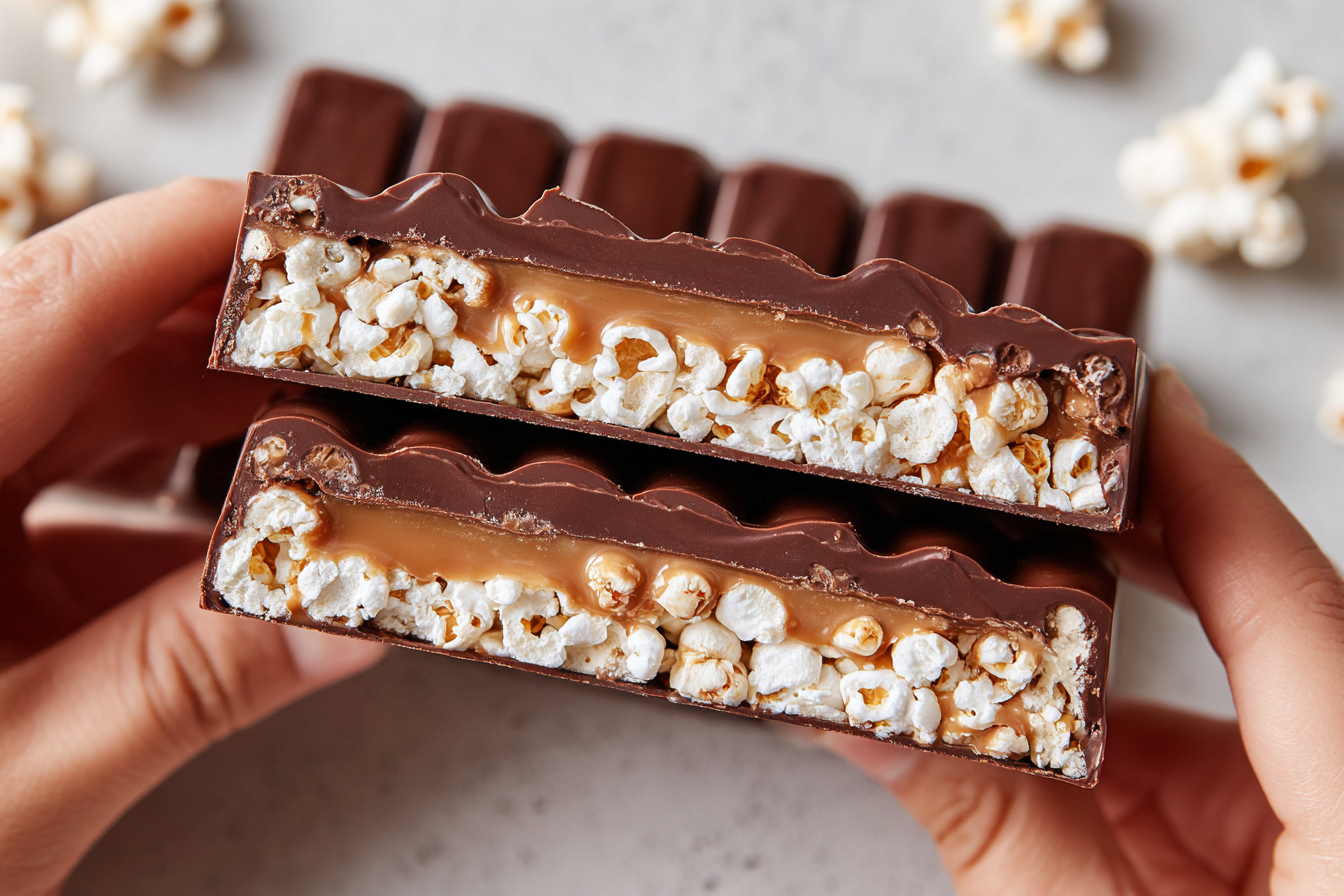
This 4-Ingredient No-Bake Rice Cake Slice is a quick, wholesome snack that’s perfect for busy days, lunchboxes, or healthy treats on the go. Light, crunchy, and chewy all at once, this recipe uses simple pantry staples to create a satisfying slice with no oven and minimal prep.
Think of it as a cleaner, naturally sweet version of a cereal bar — packed with nutty flavor, crisp texture, and a gentle hint of sweetness. Whether you’re craving something post-workout or prepping snacks for the week, this rice cake slice has you covered.
It’s also endlessly adaptable — vegan, gluten-free, and customizable to your favorite nut butters or toppings.
Ingredients Overview
Only four ingredients needed! Here’s what each one contributes:
-
Rice Cakes: These provide the airy crunch. Use plain, unsalted rice cakes for best results. Crush them roughly for a nice texture.
-
Peanut Butter: Acts as the binder and adds richness. You can also use almond butter, tahini, or any natural nut/seed butter.
-
Maple Syrup or Honey: Sweetens the slice and helps hold everything together. Use maple syrup for a vegan version.
-
Dark Chocolate (Optional but Recommended): For the topping layer or drizzle. Choose dairy-free chocolate for vegan, or skip if you want a lower-calorie base.
Step-by-Step Instructions
This recipe comes together in under 10 minutes and sets in the fridge — no oven, no fuss.
1. Crush the Rice Cakes
Roughly crush 4–5 plain rice cakes in a large bowl using your hands. You want small chunks, not fine crumbs — this gives the slice a chewy, crispy texture.
You should end up with about 3 cups of crushed rice cake pieces.
2. Make the Peanut Butter Mixture
In a small saucepan (or microwave-safe bowl), gently heat:
-
1/2 cup natural peanut butter
-
1/3 cup maple syrup or honey
Stir until smooth and pourable. Don’t boil — just warm enough to combine.
3. Mix and Press
Pour the warm mixture over the crushed rice cakes. Stir quickly to coat everything evenly — work fast as it thickens.
Press the mixture firmly into a lined 8×8-inch or 9×5-inch pan. Use a spatula or the back of a spoon to pack it tightly.
4. Top with Chocolate (Optional)
Melt 100g dark chocolate (about 2/3 cup chips or chopped chocolate) with 1 tsp coconut oil until smooth.
Spread or drizzle over the pressed mixture. Sprinkle with flaky salt, crushed nuts, or seeds if you like.
Refrigerate for 1–2 hours until firm, then slice into bars or squares.
Tips, Variations & Substitutions
-
Nut-Free: Use sunflower seed butter or tahini.
-
Low-Sugar: Use a sugar-free syrup or reduce the sweetener slightly.
-
Crunch Upgrade: Add chia seeds, pumpkin seeds, or puffed quinoa for extra texture.
-
Flavor Twist: Stir in cinnamon, vanilla, or a pinch of sea salt.
-
Chocolate-Free: Omit the topping or mix cacao nibs directly into the base for a less sweet version.
Serving Ideas & Occasions
These no-bake rice cake bars are perfect for:
-
School and work lunchboxes
-
Pre- or post-workout snacks
-
On-the-go energy bites
-
Healthy after-dinner treats
Pair with coffee, a smoothie, or just enjoy as a quick pick-me-up during the day.
Nutritional & Health Notes
Naturally:
-
Gluten-Free (if using gluten-free rice cakes)
-
Vegan (if using maple syrup and dairy-free chocolate)
-
Refined Sugar-Free
These slices are high in healthy fats and fiber, with moderate natural sugars and protein from the nut butter. They’re satisfying without being heavy, making them great for balanced snacking.
Each bar (if cut into 12) is around 120–140 calories, depending on chocolate and syrup used.
FAQs
Q1: Can I use flavored rice cakes?
A1: It’s best to use plain ones, but lightly salted or unsweetened flavored versions like cinnamon can work. Avoid sweetened or overly processed types.
Q2: How do I store these slices?
A2: Store in an airtight container in the fridge for up to 7 days, or freeze for up to 1 month. Let thaw for 10 minutes before eating.
Q3: Can I add protein powder?
A3: Yes — mix 1–2 tablespoons into the peanut butter mixture before combining. You may need to adjust the syrup to maintain the right texture.
Q4: Why won’t my slices hold together?
A4: Make sure the peanut butter and syrup mixture is thick and cohesive. Press the mixture very firmly into the pan and chill thoroughly before slicing.
Q5: Can I make this without chocolate?
A5: Definitely. The chocolate is optional. You can drizzle with a nut butter swirl instead, or leave the top plain for a simpler, snack-like bar.
Q6: Are these kid-friendly?
A6: Yes! These make a great lunchbox treat or after-school snack. For allergies, substitute with seed butters.
Q7: What kind of peanut butter works best?
A7: Natural, runny peanut butter (just peanuts and salt) blends best. Avoid thick or dry varieties, which may not mix smoothly with syrup.
PrintEasy Rice Cake Slice – No Bake, Crunchy & Delicious
A quick, no-bake rice cake slice made with just 4 wholesome ingredients. Crunchy, chewy, and naturally sweetened — perfect for healthy snacking.
- Prep Time: 10 minutes
- Chill Time: 1 hour
- Total Time: 1 hour 10 minutes
- Yield: 12 slices 1x
Ingredients
-
4–5 plain rice cakes (about 3 cups crushed)
-
1/2 cup natural peanut butter
-
1/3 cup maple syrup or honey
-
100g dark chocolate + 1 tsp coconut oil (optional)
Instructions
-
Crush rice cakes into small chunks and place in a large bowl.
-
Gently warm peanut butter and syrup until smooth.
-
Pour over rice cakes and stir to coat evenly.
-
Press mixture into a lined pan and smooth the top.
-
Melt chocolate and coconut oil, then spread or drizzle over the top (optional).
-
Chill 1–2 hours until firm. Slice and serve.
Notes
-
Store in fridge up to 7 days or freeze 1 month.
-
Customize with seeds, spices, or alternative nut butters.
-
Gluten-free and vegan when appropriate ingredients are used.