
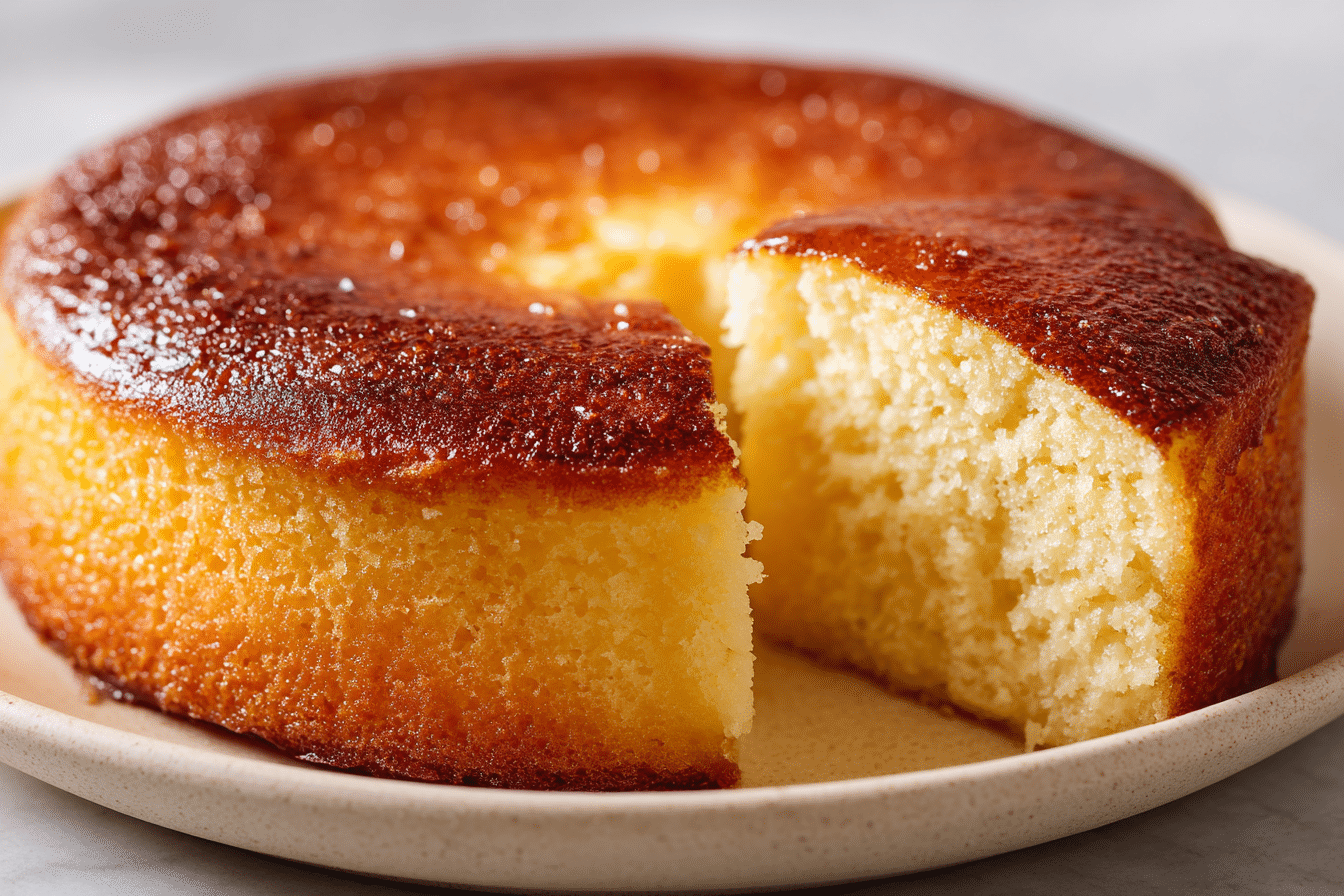
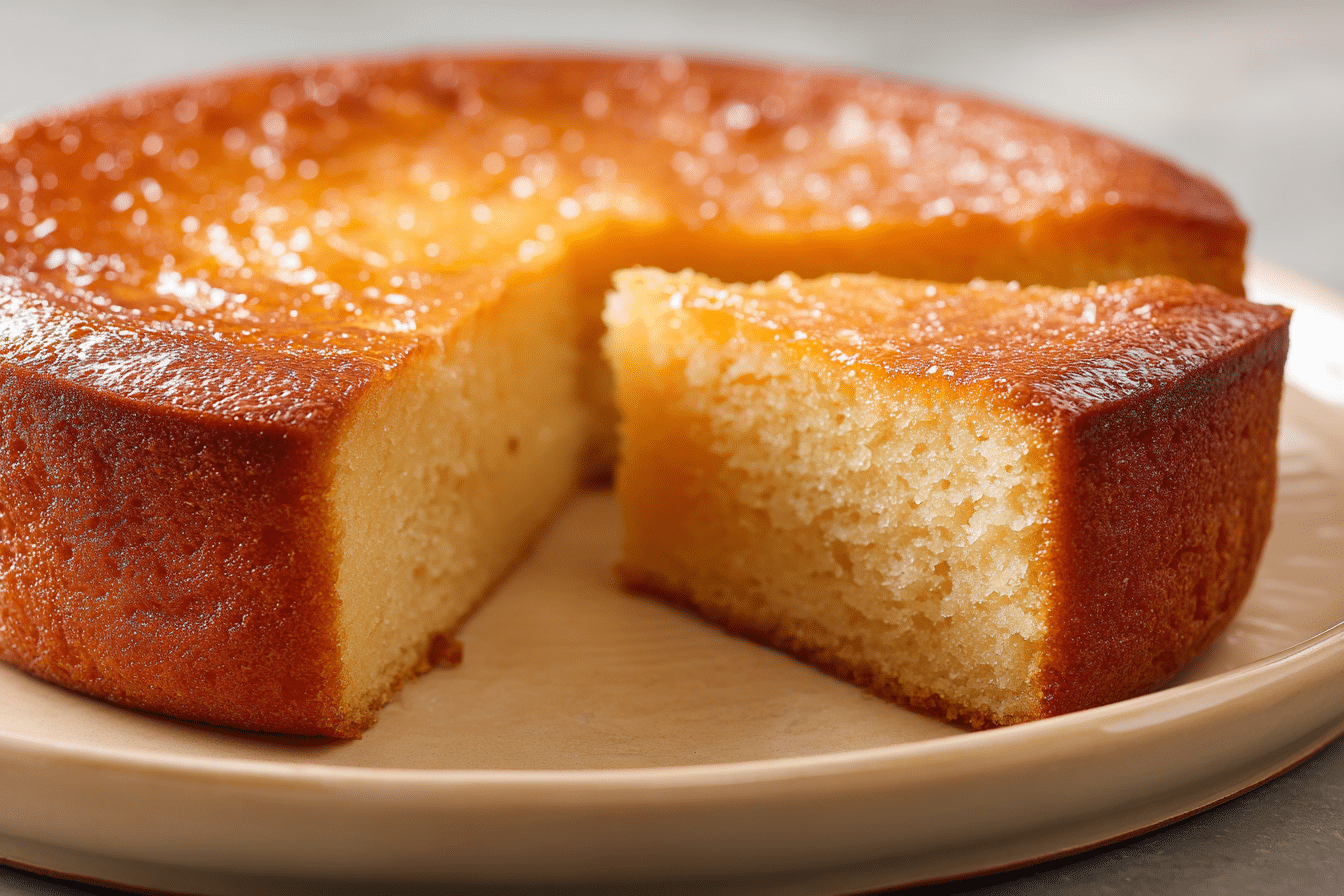
There’s something deeply comforting about a slice of sweet, buttery condensed milk cake. Soft, dense, and perfectly rich, this humble dessert carries old-fashioned charm and bold flavor in every bite. Whether you’re baking for a family gathering, an afternoon treat, or simply craving a sweet indulgence, this cake delivers satisfaction with minimal fuss.
The beauty of a condensed milk cake lies in its simplicity. With just a handful of pantry staples and no need for frosting or elaborate techniques, it becomes a go-to favorite for both beginner bakers and seasoned pros. Its smooth, moist crumb and caramel-like sweetness from the condensed milk make it irresistibly good.
If you’re looking for a classic recipe that’s wonderfully easy to follow yet packed with flavor, this condensed milk cake will quickly earn a permanent spot in your dessert rotation. The best part? You can make it in just six straightforward steps.
Ingredients Overview
Sweetened Condensed Milk: The star of the show, condensed milk gives the cake its deep, sweet flavor and signature dense texture. It adds a subtle caramel note and eliminates the need for extra sugar. Avoid substituting this with evaporated milk—it won’t provide the same richness.
All-Purpose Flour: Provides structure to the cake. If you’re out of all-purpose, cake flour can be used for a slightly lighter crumb, though the result may be less dense.
Eggs: These add moisture and act as a binding agent. They also help the cake rise slightly, balancing the richness of the condensed milk.
Butter: Unsalted butter lends richness and that melt-in-your-mouth quality. If you only have salted butter, reduce any added salt in the recipe accordingly.
Baking Powder: Essential for lift. It gives the cake just enough rise without making it too airy.
Vanilla Extract: Enhances the flavor and adds a touch of warmth. Pure vanilla extract is ideal, but imitation works in a pinch.
Milk (optional): Depending on your batter consistency, a small amount of milk can help loosen it. Whole milk works best, but any type can be used.
Each ingredient plays a distinct role, contributing to a harmonious balance of sweetness, texture, and depth of flavor.
Step-by-Step Instructions
Step 1: Prep the Oven and Pan
Preheat your oven to 350°F (175°C). Grease and flour a 9-inch round or loaf pan, or line it with parchment paper. This ensures the cake comes out easily once baked and prevents sticking.
Step 2: Cream the Butter
In a large mixing bowl, beat the softened butter until creamy and pale, about 2–3 minutes. This step is key to incorporating air into the batter, which results in a lighter texture.
Step 3: Add Eggs and Vanilla
Add the eggs one at a time, beating well after each addition. Stir in the vanilla extract. This builds a smooth, fluffy base for your batter.
Step 4: Pour in the Condensed Milk
Slowly mix in the sweetened condensed milk. The batter will start to look silky and dense. Make sure everything is fully incorporated, scraping down the sides of the bowl as needed.
Step 5: Combine Dry Ingredients
In a separate bowl, whisk together the flour and baking powder. Gradually add the dry mixture into the wet ingredients, mixing just until combined. If the batter feels overly thick, add a splash (1–2 tbsp) of milk to loosen it.
Step 6: Bake
Pour the batter into the prepared pan and smooth the top. Bake for 40–45 minutes or until a toothpick inserted in the center comes out clean. Let the cake cool in the pan for 10 minutes before transferring it to a wire rack to cool completely.
Avoid Overmixing: This is a common mistake. Overmixing can make the cake dense and tough. Mix until just combined for a tender crumb.
Tips, Variations & Substitutions
Add Citrus: A tablespoon of lemon or orange zest adds a bright contrast to the sweetness.
Try Spices: Cinnamon, cardamom, or nutmeg can add warmth and depth. Start with ½ tsp.
Make It Chocolate: Fold in ½ cup of mini chocolate chips or swirl in 2 tbsp of cocoa powder for a chocolate twist.
Gluten-Free Option: Use a 1:1 gluten-free baking flour blend. The cake may be slightly more crumbly, but the taste holds up well.
Dairy-Free Alternative: Use dairy-free condensed milk and plant-based butter for a lactose-friendly version.
Texture Tip: If you prefer a fluffier cake, separate the egg whites, beat them to stiff peaks, and fold them into the batter at the end.
These tweaks let you customize the cake to suit your tastes or dietary needs without compromising its delicious character.
Serving Ideas & Occasions
This condensed milk cake is delightful on its own or with a light dusting of powdered sugar. For added indulgence, serve it with:
-
A dollop of whipped cream or a scoop of vanilla ice cream.
-
Fresh berries for a pop of tartness.
-
A drizzle of chocolate or caramel sauce for a dessert-worthy finish.
It’s perfect for afternoon tea, brunch spreads, or as a last-minute dessert for unexpected guests. Its sturdy texture also makes it travel-friendly, ideal for potlucks or picnics.
For special occasions, slice it into layers and fill it with jam or lemon curd. It’s versatile enough to serve at birthdays, holidays, or even just a quiet Sunday at home.
Nutritional & Health Notes
Condensed milk cake is undeniably rich, but it’s also made with simple, whole ingredients. A standard slice contains approximately 250–300 calories, depending on portion size and any added toppings.
It’s a good source of energy from healthy fats and carbs, making it satisfying as a treat. There’s also some protein from the eggs and butter.
While it’s not a low-sugar option, the absence of added granulated sugar means it’s not overly sweet. Using full-fat dairy ensures better flavor and texture, but for lighter versions, low-fat condensed milk and butter substitutes can reduce overall calories.
As with all desserts, moderation is key—enjoy it as part of a balanced approach to sweets.
FAQs
1. Can I make condensed milk cake without eggs?
Yes. You can replace each egg with ¼ cup of unsweetened applesauce or a commercial egg replacer. The texture will be slightly more moist and less fluffy, but it still works well.
2. Is this cake very sweet?
Surprisingly, no. While condensed milk is sweet, there’s no additional sugar in the recipe, which keeps the cake’s sweetness pleasant and balanced.
3. How should I store leftover cake?
Keep it in an airtight container at room temperature for up to 3 days. For longer storage, refrigerate it for up to a week or freeze slices for up to 2 months.
4. Can I use evaporated milk instead of condensed milk?
No, evaporated milk is unsweetened and thinner. It will change the structure and flavor of the cake significantly.
5. What kind of pan is best for this cake?
A 9-inch round cake pan or standard loaf pan works best. Avoid bundt pans unless you’re doubling the recipe, as it may not fill the pan properly.
6. Why did my cake sink in the middle?
This could be from underbaking or opening the oven door too early. Make sure it’s fully set before removing it and avoid peeking during the first 30 minutes of baking.
7. Can I frost this cake?
Absolutely. Though it’s great on its own, a light glaze made with powdered sugar and milk or a swipe of cream cheese frosting pairs beautifully.
Sweetened Condensed Milk Cake – Simple Dessert With Pantry Staples
A simple, buttery condensed milk cake with rich flavor and a moist, dense crumb. Perfect for any occasion and made in just 6 easy steps.
- Prep Time: 15 minutes
- Cook Time: 45 minutes
- Total Time: 1 hour
- Yield: 8 servings 1x
Ingredients
1 cup unsalted butter, softened
1 can (14 oz) sweetened condensed milk
3 large eggs
1 ½ cups all-purpose flour
1 ½ tsp baking powder
1 tsp vanilla extract
2 tbsp milk (optional)
Instructions
-
Preheat oven to 350°F (175°C). Grease and flour a 9-inch pan or line with parchment.
-
Cream the butter in a large bowl until smooth and pale.
-
Beat in eggs one at a time. Stir in vanilla extract.
-
Add condensed milk and mix until fully combined.
-
Whisk flour and baking powder in a separate bowl. Gradually add to wet mixture. Add milk if needed.
-
Pour into prepared pan and bake for 40–45 minutes, or until a toothpick comes out clean.
Notes
Let cake cool in pan for 10 minutes before transferring to a wire rack. Can be stored at room temperature or refrigerated.