
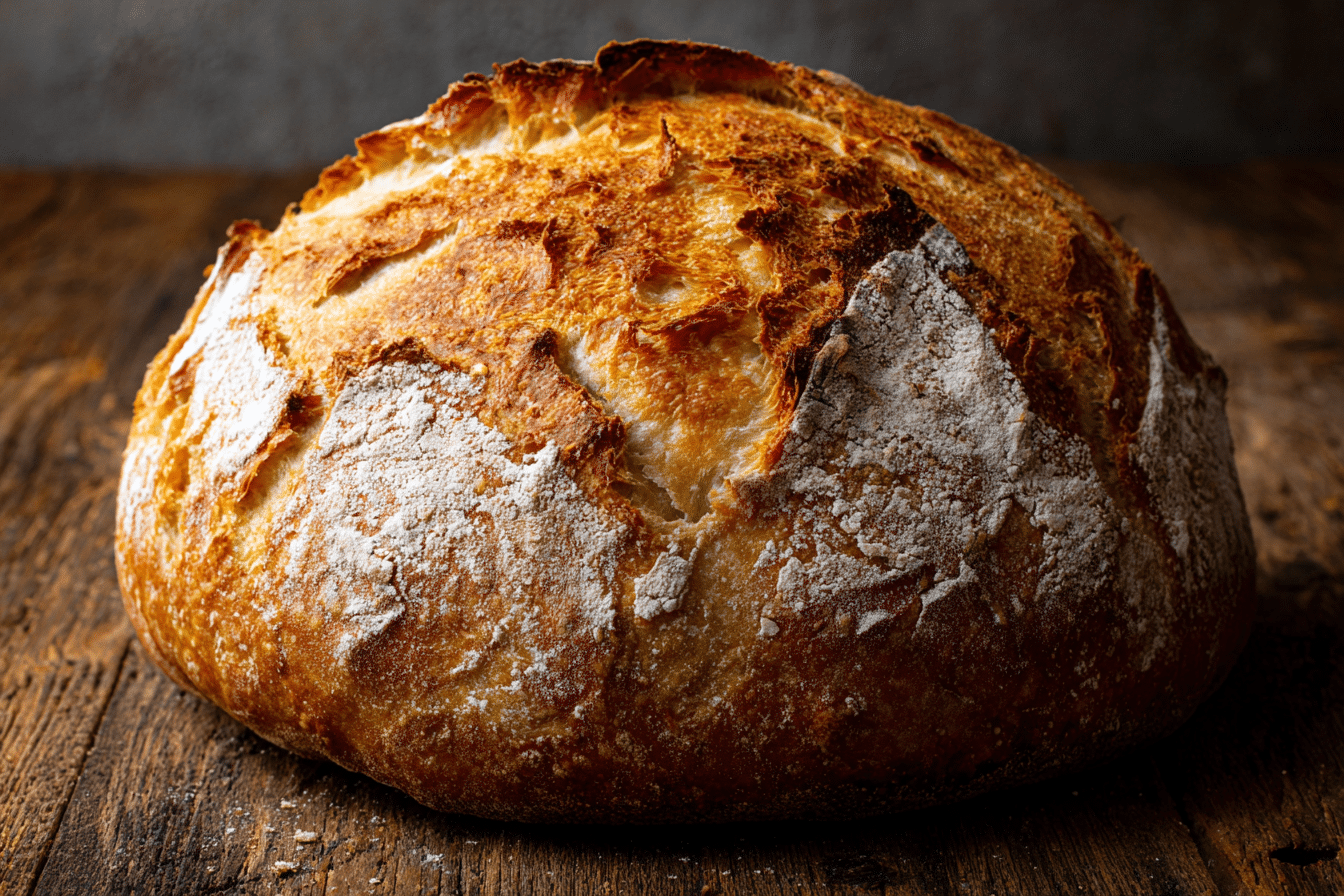
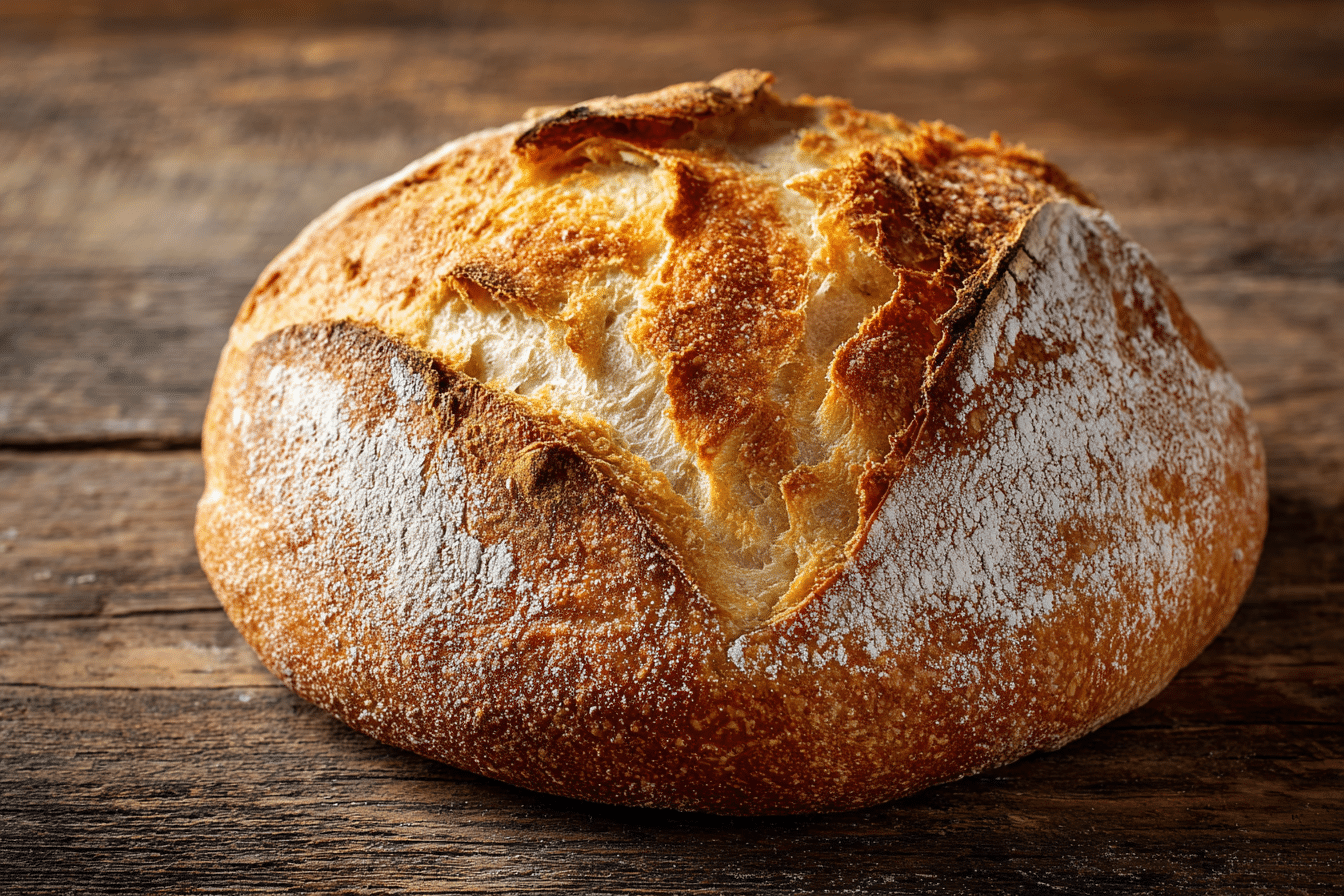
There’s something deeply comforting about the aroma of fresh bread baking in your kitchen—warm, toasty, and rustic. This quick and easy homemade no knead artisan bread recipe brings that magic to life with minimal effort and no fancy tools required.
You don’t need to be a seasoned baker or invest hours into kneading and proofing. This recipe proves that with just a few pantry staples and a little patience, you can achieve a golden, crackly crust and a soft, chewy interior. The loaf rises beautifully with that signature open crumb and rustic texture, thanks to a slow ferment and steam-baked crust.
I discovered this method during a chilly winter weekend when I craved bakery-style bread but had no interest in kneading dough. Since then, it’s become a reliable go-to—great with butter, dunked into soups, or used for hearty sandwiches.
Ingredients Overview
This no knead artisan bread keeps things delightfully simple with only a handful of ingredients. Yet, each plays a crucial role in developing flavor, texture, and structure.
All-Purpose or Bread Flour: The main structure of your bread. Bread flour gives a slightly chewier texture due to its higher protein content, but all-purpose flour works just as well for a soft, open crumb. Avoid whole wheat as a primary flour unless balanced with white flour to avoid a dense loaf.
Warm Water: Activates the yeast and binds the dough. It should be lukewarm—about 100°F (38°C)—warm to the touch but not hot, which can kill the yeast.
Instant Yeast: This type of yeast requires no proofing and speeds up the fermentation process while still delivering rich, yeasty flavor. Active dry yeast also works but may require blooming in water first.
Salt: Don’t underestimate salt—it balances the flavor and strengthens gluten structure. Kosher salt or sea salt are ideal for clean, mineral-rich notes.
That’s it—no eggs, milk, or butter. The simplicity of ingredients is part of what makes this bread so appealing, especially when pantry supplies are low.
Step-by-Step Instructions
-
Mix the Dough (5 Minutes)
In a large mixing bowl, combine 3 cups of flour, 1 ½ teaspoons of salt, and ½ teaspoon of instant yeast. Stir to combine. Add 1 ½ cups of warm water and mix with a wooden spoon or spatula until a shaggy, sticky dough forms. It will look rough, and that’s okay. -
Let It Rest (8–12 Hours)
Cover the bowl with plastic wrap or a clean kitchen towel. Leave it on your counter at room temperature (not in the fridge). Over the next 8–12 hours, the dough will rise, bubble, and become airy—this long ferment develops flavor and gluten without any kneading. -
Shape the Dough (5 Minutes)
After resting, the dough will be soft and jiggly. Flour your hands and a clean surface, then gently turn out the dough. With floured hands, shape it into a round ball by folding the edges into the center a few times. No heavy kneading—just coax it into shape. -
Second Rise (30–45 Minutes)
Place the shaped dough onto a piece of parchment paper. Cover loosely with a towel and let it rest for another 30–45 minutes. Meanwhile, preheat your oven to 450°F (230°C) with a Dutch oven (or heavy oven-safe pot with lid) inside. -
Bake (30 Minutes Covered, 15 Minutes Uncovered)
Once the oven is hot, carefully remove the Dutch oven. Lift the dough by the parchment paper and place it inside. Cover with the lid and bake for 30 minutes. Then remove the lid and bake another 12–15 minutes until deep golden brown. -
Cool Before Slicing (20 Minutes)
Remove the bread and place it on a wire rack. Let it cool at least 20 minutes before slicing—this helps the interior finish setting and avoids gummy texture.
Common Mistakes to Avoid
-
Don’t use too much flour when shaping or the crust will be tough.
-
Make sure your oven and pot are fully preheated—this gives the bread its spring and crust.
-
Resist slicing too soon; cooling time matters.
Tips, Variations & Substitutions
Helpful Tips
-
A Dutch oven traps steam and mimics a commercial bread oven—essential for crusty loaves.
-
Use a scale to measure flour if you can; it’s more precise than cups.
-
Wet your hands when shaping sticky dough to make it easier to handle.
Flavor Additions
-
Garlic & Herb: Add 1 tsp dried herbs (rosemary, thyme, or Italian mix) and 1–2 cloves of minced garlic into the dough.
-
Cheddar & Jalapeño: Fold in 1 cup shredded cheddar and 1 chopped jalapeño after first rise.
-
Olive & Sundried Tomato: Add ½ cup chopped olives and ¼ cup chopped sundried tomatoes for a Mediterranean twist.
Flour Variations
-
Swap ½ cup of the white flour for whole wheat for added depth.
-
Add 2 tablespoons of rye flour for a more complex, nutty flavor.
No Dutch Oven?
-
Use a baking stone or steel with an inverted metal bowl to cover. Or bake on a tray with a second pan of hot water underneath to create steam.
Serving Ideas & Occasions
This no knead artisan bread is as versatile as it is beautiful. Serve warm with butter or olive oil and balsamic vinegar. It’s ideal for dipping into soups like tomato basil, lentil, or creamy potato leek.
Slice it thick and top with avocado, poached eggs, or ricotta and honey for brunch. Use it for sandwiches—it makes a fantastic grilled cheese—or cube and toast it for homemade croutons.
It’s perfect for dinner parties, potlucks, or cozy nights in. The rustic appearance and crackling crust make it feel special without being fussy. It even makes a thoughtful edible gift when wrapped in parchment and tied with twine.
Nutritional & Health Notes
Artisan bread made with just flour, water, salt, and yeast is as clean as it gets. Unlike many store-bought loaves, this version contains no preservatives, added sugars, or fillers.
Each slice delivers complex carbohydrates and a bit of protein from the flour. Using whole wheat or rye flour increases fiber and nutrients. The long fermentation also improves digestibility for some people by breaking down gluten proteins slightly.
Keep portions moderate if watching your carb intake, and pair with protein-rich or high-fiber toppings to make a balanced meal.
For those with sodium concerns, the salt can be reduced slightly, though it may affect the flavor and structure.
FAQs
1. Can I make the dough in the morning and bake at night?
Yes. If you start early, you can bake the same evening. Allow at least 8 hours of resting time. If your kitchen is warm, even 6 hours may be enough.
2. What if I forget to make it the night before?
Use warm water (not hot) and increase the yeast to 1 teaspoon. Let it rise for 3–4 hours on a warm countertop and proceed with baking. The flavor won’t be as deep, but the texture will still be great.
3. Why is my bread dense or flat?
This usually means your yeast was expired, or the dough was overproofed and collapsed. Always check yeast freshness and avoid letting the dough rise too long past peak height.
4. How should I store leftovers?
Wrap the cooled bread in a clean kitchen towel or paper bag for up to 2 days at room temp. Avoid plastic wrap, which makes the crust soggy. For longer storage, slice and freeze.
5. Can I double the recipe?
Yes, but bake in two separate loaves unless your Dutch oven is very large. Doubling the dough may affect baking time and consistency.
6. Do I have to use parchment paper?
Parchment makes it easier to transfer the dough and keeps it from sticking, but it’s optional if your pot is well-oiled or nonstick. Just be careful transferring the dough into a hot pot.
7. Can I add seeds or oats on top?
Definitely! Brush the shaped dough with water and sprinkle sesame, poppy seeds, or rolled oats before baking. Press them in gently so they stick.
No Knead Artisan Bread Recipe Baked Perfectly in a Dutch Oven
A simple, foolproof recipe for no knead artisan bread with a crispy crust and chewy, airy interior. Perfect for beginners and made with just 4 ingredients.
- Prep Time: 10 minutes
- Cook Time: 45 minutes
- Total Time: 9 hours (including resting)
- Yield: 1 loaf (8–10 slices) 1x
Ingredients
3 cups all-purpose or bread flour
1 ½ cups warm water
½ tsp instant yeast
1 ½ tsp salt
Instructions
-
In a large bowl, mix flour, salt, and yeast. Add warm water and stir until a shaggy dough forms.
-
Cover with plastic wrap and rest at room temperature for 8–12 hours.
-
Turn dough onto floured surface, gently shape into a round.
-
Place dough on parchment paper, cover with towel, and rest 30–45 minutes.
-
Preheat oven to 450°F with a Dutch oven inside.
-
Carefully place dough (with parchment) into hot Dutch oven. Cover and bake 30 minutes.
-
Uncover and bake another 12–15 minutes until golden brown.
-
Cool on wire rack at least 20 minutes before slicing
Notes
For best results, use a Dutch oven and fresh yeast. Customize with herbs, cheese, or olives for added flavor.