
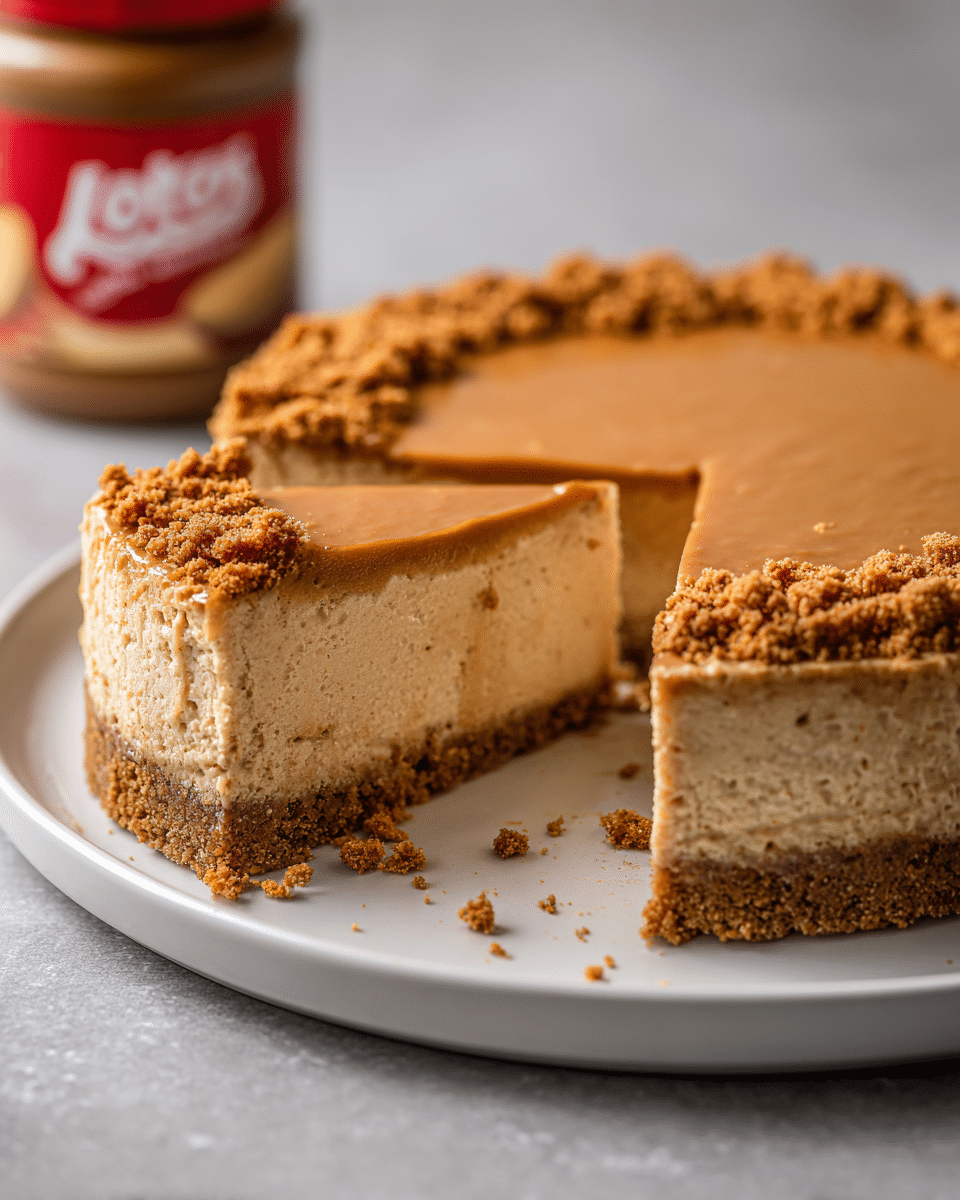
If you’re a fan of Lotus Biscoff cookies and rich, creamy desserts, this No-Bake Lotus Cheesecake will absolutely win you over. It combines the spiced caramel flavor of the iconic cookies with a silky cream cheese filling—no oven required. This stunning dessert is ideal for birthdays, gatherings, or simply a sweet weekend indulgence.
Why This Lotus Biscoff Cheesecake Stands Out
The Lotus Biscoff Cheesecake has become a viral dessert sensation—and it’s easy to see why. Not only is it incredibly simple to make, but it also delivers the perfect balance of flavor and texture: crumbly cookie crust, creamy filling, and a luscious caramelized topping.
Plus, it’s a no-bake recipe, which means no oven, no stress, and perfect results every time. Whether served in a full-size springform or as individual mini cheesecakes in jars, this treat is guaranteed to impress.
Ingredients Overview: Just 7 Simple Ingredients
For the Crust:
-
250g (about 2 cups) Lotus Biscoff cookies
These caramelized spiced cookies make the perfect base. -
100g (about ½ cup) melted butter
Holds the crust together and adds buttery richness.
For the Filling:
-
400g (14 oz) full-fat cream cheese, softened
For a rich, creamy texture—bring to room temperature first. -
200ml (¾ cup) heavy cream
Whipped for lightness and volume. -
100g (¾ cup) powdered sugar
Sweetens the filling smoothly. -
150g (½ cup) Lotus Biscoff spread
Adds signature flavor and creamy depth. -
1 tsp vanilla extract
Rounds out the flavor.
For the Topping:
-
2–3 tbsp Lotus Biscoff spread (melted)
Poured on top for a smooth caramel glaze. -
Crushed or whole Biscoff cookies for garnish
Step-by-Step Instructions
Step 1: Prepare the Crust
-
Crush the cookies in a food processor or zip-top bag until fine.
-
Mix with melted butter until fully coated.
-
Press the mixture into the base of a 20–22 cm (8–9 inch) springform pan.
-
Chill in the refrigerator while you make the filling.
Step 2: Make the Filling
-
Beat the cream cheese until smooth and fluffy.
-
Add powdered sugar, vanilla, and Biscoff spread. Mix until well combined.
-
In a separate bowl, whip the heavy cream to soft peaks.
-
Fold the whipped cream gently into the cheesecake mixture until smooth and airy.
Step 3: Assemble the Cheesecake
-
Pour the filling over the chilled crust and smooth the top.
-
Refrigerate for at least 6 hours, preferably overnight, until firm.
Step 4: Decorate and Serve
-
Just before serving, gently heat the extra Biscoff spread until pourable.
-
Drizzle over the top of the cheesecake and smooth with a spatula.
-
Garnish with crushed cookies or whole Biscoff biscuits.
-
Slice and serve chilled.
Tips, Variations & Substitutions
Tips:
-
Always use room temperature cream cheese for the smoothest texture.
-
For extra firmness, you can add 1–2 tsp of gelatin (optional).
-
Chill the cheesecake overnight for clean slices and ideal texture.
Variations:
-
Mini Cheesecakes in Jars: Great for parties and meal prep.
-
Chocolate Biscoff Base: Mix in crushed Oreos for a twist.
-
With Mascarpone: Replace part of the cream cheese for a silkier texture.
Substitutions:
-
Vegan version: Use dairy-free cream cheese, vegan whipped cream, and plant-based butter.
-
Lactose-free: Many Biscoff products are already lactose-free—just swap cream cheese and cream.
Serving Ideas & Occasions
This cheesecake is perfect for:
-
Birthday celebrations or holidays
-
Dinner parties or potlucks
-
Sunday dessert with coffee
-
Brunches and baby showers
Serve it with:
-
Fresh berries or raspberry coulis for a fruity balance
-
A sprinkle of cinnamon or nutmeg for warm spice
-
Chilled for the creamiest texture and best sliceability
Nutrition & Health Notes
While indulgent, this dessert is:
-
Gelatin-free
-
No baking required – saves energy and time
-
Easy to portion – satisfying and rich, so small slices go a long way
Estimated per slice (10 slices):
Approx. 350–400 calories
5–6g protein
30g fat
20–25g carbs
FAQ: No-Bake Lotus Cheesecake
1. Will it set without gelatin?
Yes! The cream cheese and whipped cream stabilize beautifully when chilled for several hours. No gelatin needed.
2. How long does it keep?
Up to 4 days in the fridge, tightly covered. Best within 2–3 days for optimal texture.
3. Can I freeze it?
Yes. Slice, freeze individually, and thaw in the fridge before serving. The texture remains creamy.
4. Can I reduce the sugar?
Yes, reduce the powdered sugar to 60–80g. The Biscoff spread already provides sweetness.
5. Can I use canned whipped cream?
For best results, use freshly whipped cream. Canned versions don’t hold structure in the filling.
6. What kind of pan is best?
A springform pan (20–22 cm) works best. You can also make it in a pie dish or dessert cups.
7. How do I make it vegan?
Use plant-based cream cheese, coconut whipped cream, and vegan butter. Most Lotus products are already vegan!
PrintLotus Cheesecake Recipe – Caramel Flavor & Buttery Crunch
A creamy no-bake cheesecake made with Lotus Biscoff cookies and spread. Simple, rich, and full of warm caramel-spice flavor—no oven required.
- Prep Time: 20 minutes
- Chill Time: 6 hours
- Total Time: 6 hrs 20 min
- Yield: 10 slices 1x
Ingredients
Crust:
-
250g Lotus Biscoff cookies
-
100g melted butter
Filling:
-
400g cream cheese
-
200ml heavy cream
-
100g powdered sugar
-
150g Lotus Biscoff spread
-
1 tsp vanilla extract
Topping:
-
2–3 tbsp melted Biscoff spread
-
Biscoff cookies or crumbs, for garnish
Instructions
-
Crush cookies and mix with melted butter. Press into springform pan. Chill.
-
Beat cream cheese, sugar, vanilla, and Biscoff spread until smooth.
-
Whip cream to soft peaks and fold in.
-
Spread filling over crust. Refrigerate for at least 6 hours.
-
Drizzle with melted Biscoff and decorate with cookies.
Notes
-
Chill overnight for best results.
-
Vegan option available with plant-based swaps.
-
Great served in jars for individual portions.