
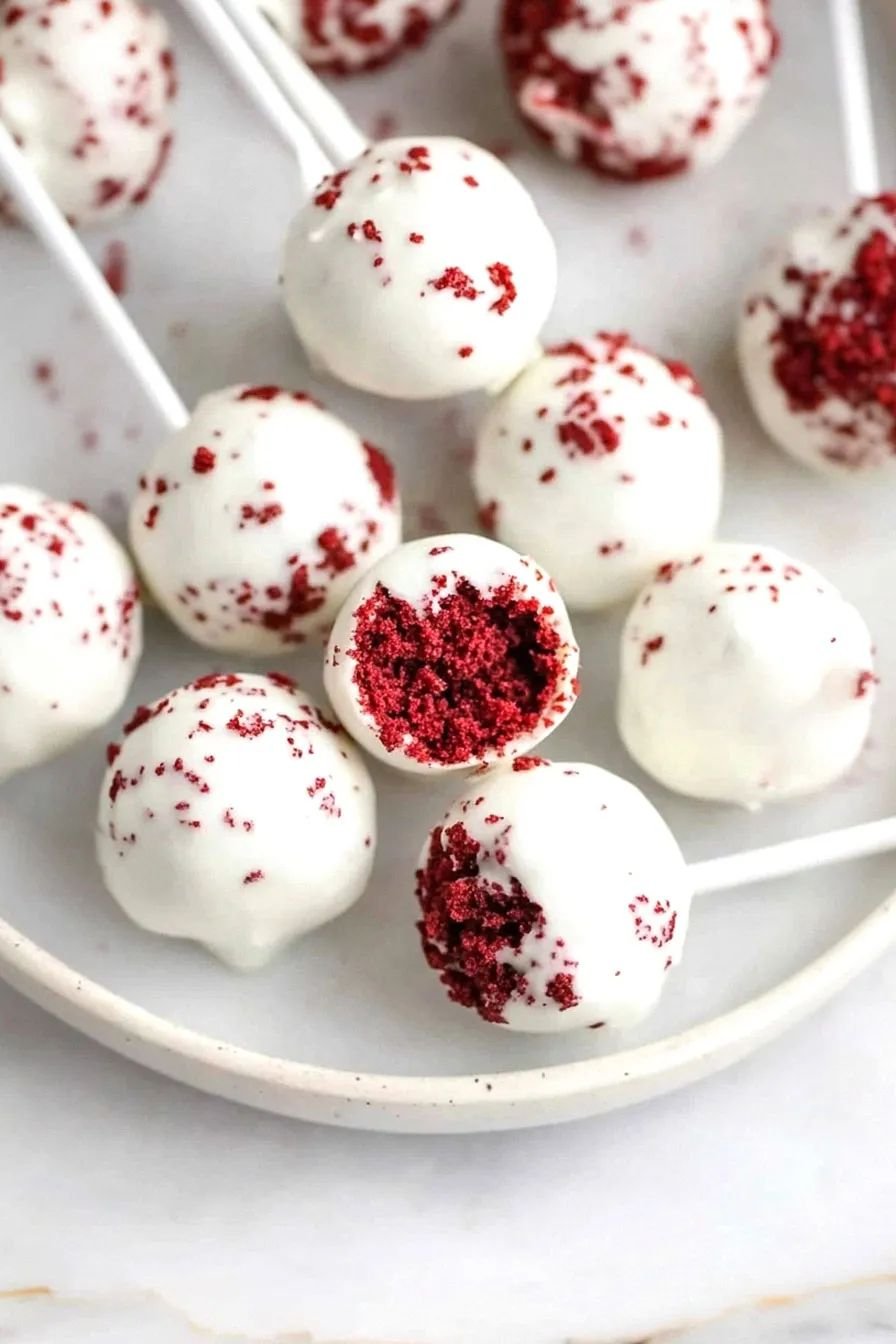
These Red Velvet Cake Pops are rich, chocolatey, and dipped in a luscious candy coating. With a soft, moist red velvet center and a smooth outer shell, they’re a crowd-pleasing dessert that’s perfect for birthdays, holidays, weddings, or just a fun baking project at home. No fancy tools required!
Bite-Sized Decadence in Every Pop
Red velvet cake is already a showstopper—deep red color, subtle cocoa flavor, and a hint of tang from cream cheese frosting. When you roll all that into a tiny, lollipop-style treat, you get cake pops: fun to make, easy to eat, and endlessly customizable.
Originally made popular by bakeries like Starbucks and specialty cake shops, cake pops are now a favorite for home bakers who want to turn leftover cake or cupcakes into something extra special. This red velvet version has just the right balance of rich chocolate, mild sweetness, and creamy texture.
They’re perfect for gifting, dessert tables, or themed party treats—and they freeze beautifully for make-ahead planning.
Ingredients Overview: What You’ll Need for Red Velvet Cake Pops
You can use homemade or boxed cake for this recipe. Here’s what each component does:
For the Cake:
-
Red Velvet Cake (baked and cooled): Moist, slightly cocoa-flavored cake with a vibrant red hue. Use homemade or store-bought boxed mix for ease.
-
Buttermilk (if making homemade): Provides moisture and signature tang.
For the Binding:
-
Cream Cheese Frosting: Helps hold the cake crumbs together and adds richness. Store-bought or homemade both work.
For the Coating:
-
Candy Melts or White Chocolate: For dipping. Candy melts are easiest to work with and come in red, white, or even pink.
-
Vegetable shortening or coconut oil: Thins out the chocolate for smoother dipping.
Optional Decorations:
-
Sprinkles, edible glitter, crushed cookies, or drizzle: For a festive finish.
-
Lollipop sticks: To turn the cake balls into cake pops.
Step-by-Step Instructions: How to Make Red Velvet Cake Pops

Step 1: Bake the Cake
-
Prepare a 9×13-inch red velvet cake using your favorite recipe or a boxed mix. Let it cool completely.
-
Crumble the cooled cake into fine crumbs using your hands or a fork. Transfer to a large mixing bowl.
Step 2: Add the Frosting
-
Add ½ to ¾ cup cream cheese frosting to the crumbled cake.
-
Mix until the texture resembles thick cookie dough—moist and moldable but not too sticky.
-
If needed, add frosting 1 tablespoon at a time to reach the right consistency.
Step 3: Roll Into Balls
-
Use a cookie scoop or tablespoon to portion and roll the mixture into 1-inch balls.
-
Place them on a baking sheet lined with parchment paper.
-
Chill in the fridge for 1 hour or freeze for 20 minutes to firm them up.
Step 4: Insert Sticks
-
Melt a few candy melts.
-
Dip the tip of a lollipop stick about ½ inch into the melted candy, then insert it halfway into each cake ball.
-
This helps anchor the stick inside. Let them chill again to set.
Step 5: Dip and Decorate
-
Melt 12 oz of candy melts (or white chocolate) in a microwave-safe bowl in 30-second intervals until smooth. Stir in 1–2 teaspoons of shortening or coconut oil to thin if needed.
-
Dip each cake pop into the coating, gently rotating to cover fully.
-
Let excess coating drip off, then immediately decorate with sprinkles or toppings.
-
Stick pops into a styrofoam block or cake pop stand to dry upright.
Step 6: Chill and Serve
-
Once the coating is fully set (about 30 minutes), the cake pops are ready to serve.
-
Store in an airtight container in the fridge for up to 5 days, or freeze for longer storage.
Tips, Variations & Substitutions
Pro Tips for Perfect Cake Pops:
-
Don’t over-frost: Too much frosting will make the pops greasy and fall apart.
-
Chill thoroughly before dipping—this helps them stay firm and hold shape.
-
Use candy melts for easier melting and consistent coating.
-
Dip at room temperature: Cold cake pops can cause coating to crack if dipped into hot chocolate.
Flavor Variations:
-
Red Velvet Oreo Cake Pops: Mix in crushed red velvet Oreos for extra flavor and crunch.
-
Chocolate Dipped: Use dark chocolate for a more intense flavor.
-
Mini Cake Truffles: Skip the sticks and serve them as bite-sized truffles.
Substitutions:
-
Vegan: Use egg-free cake and vegan cream cheese frosting.
-
Gluten-Free: Use a gluten-free red velvet cake mix.
-
Dairy-Free: Substitute dairy-free cream cheese and use coconut milk-based white chocolate.
Serving Ideas & Occasions
Red velvet cake pops are:
-
Perfect for holidays: Valentine’s Day, Christmas, or Fourth of July.
-
Great for parties: Birthdays, weddings, baby showers.
-
Fun for kids: Let them decorate their own.
-
Elegant on dessert tables: Use matching colors and sprinkles for a coordinated look.
Serve upright in decorative foam blocks, small jars filled with sugar or beans, or lie flat in mini cupcake liners.
Nutritional & Health Notes
Cake pops are meant to be a treat, but here’s a rough breakdown for portion control:
Per Cake Pop (approx. 1 of 24):
-
Calories: 150–180
-
Carbs: 18–22g
-
Fat: 8–10g
-
Sugar: 14–18g
-
Protein: 1–2g
Tips for Lightening Up:
-
Use a reduced-fat cream cheese frosting.
-
Opt for dark chocolate coating instead of candy melts.
-
Roll into smaller pops for bite-sized portions.
FAQ: Red Velvet Cake Pops
1. Can I make cake pops without lollipop sticks?
Yes! Roll them into truffle-style balls and serve in mini cupcake liners as cake bites or “cake truffles.”
2. How far in advance can I make these?
They last up to 5 days refrigerated or 2 months frozen. Freeze undipped balls or fully decorated pops, tightly wrapped.
3. Why are my cake pops cracking?
Usually, the cake is too cold and the coating too hot. Let the pops rest at room temp for a few minutes before dipping.
4. Can I use store-bought cake and frosting?
Absolutely! Store-bought red velvet cake and canned cream cheese frosting make prep super easy and still taste great.
5. How do I keep the coating smooth?
Thin it with shortening or coconut oil. Avoid overheating—melt slowly and stir often.
6. Can I decorate them after the coating sets?
Add sprinkles immediately after dipping while the coating is still wet. Once set, decorations won’t stick well without additional melted coating.
7. Do I need a cake pop mold?
Nope! Traditional cake pops are rolled by hand from crumbled cake and frosting. Molds are for baked cake balls (a different texture).
Tasty Recipes Card (Plain Text Format)
Description:
Moist red velvet cake mixed with cream cheese frosting, rolled into balls, and dipped in candy coating. These cake pops are perfect for parties, gifts, or anytime treats.
Ingredients:
-
1 baked 9×13″ red velvet cake (cooled)
-
½–¾ cup cream cheese frosting
-
12 oz candy melts (white, red, or chocolate)
-
1–2 tsp coconut oil or shortening (for thinning)
-
Sprinkles (optional)
-
Lollipop sticks
Instructions:
-
Crumble cooled cake into fine crumbs in a large bowl.
-
Mix in frosting a little at a time until dough holds together.
-
Roll into 1-inch balls. Chill for 1 hour or freeze 20 minutes.
-
Dip lollipop sticks into melted candy, insert into balls. Chill to set.
-
Melt candy melts with coconut oil. Dip cake pops, decorate immediately.
-
Let coating set upright in foam block or stand.
Notes:
-
Use candy melts for easy dipping.
-
Chill before dipping to avoid cracks.
-
Store in fridge up to 5 days or freeze up to 2 months.
Details:
-
Prep Time: 30 minutes
-
Chill Time: 1 hour
-
Total Time: 1 hour 30 minutes
-
Yield: 24 cake pops